Tools
No tools specified.
Parts
-
-
Assemble the LEGO® set, and set aside the two robots in the set once they have been assembled.
-
-
-
Once the two robots have been fully assembled, remove the main head pieces.
-
You won't need the old eye stalk parts-- you can set these aside.
-
-
-
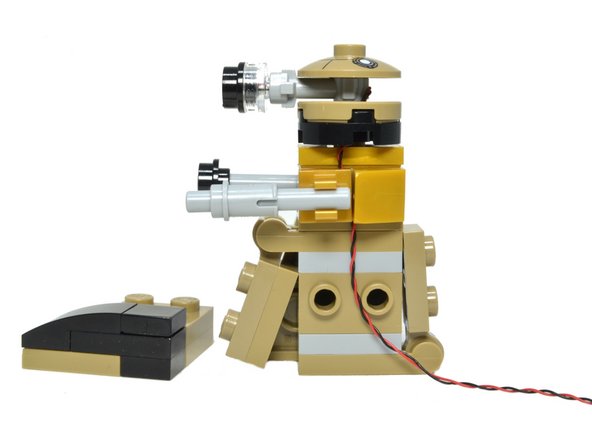
Press the new eye stalk from this kit onto the top of the robot.
-
You may need to press with some force to attach the new eye stalk.
-
The wire is strong enough to handle being wedged around the eye stalk.
-
Feed the wire down through the head assembly and to one side of the robot.
-
-
-
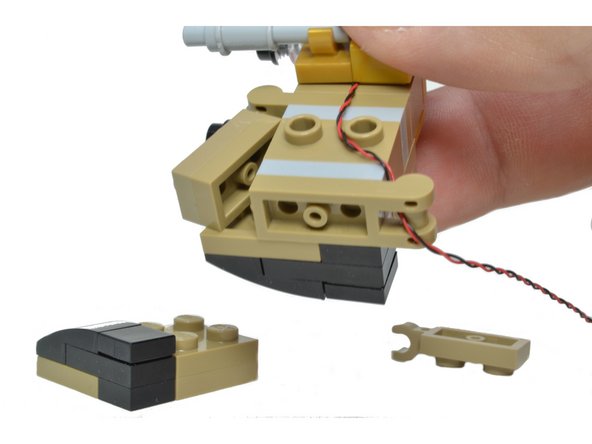
Remove the robot's side pieces and thread the wire down the side.
-
Be careful to feed the wire between the studs, not on top of them.
-
-
-
Carefully thread the wire through the hole in the clip on the robot's bottom part in back.
-
Carefully pull the wire through the hole in the clip until the wire is snug against the side of the robot.
-
Remember to make sure the wire feeds between the studs, not on top of them.
-
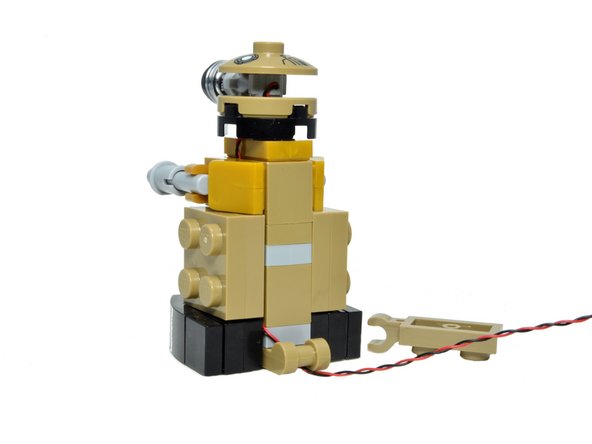
Re-attach the side parts you removed earlier.
-
You may need to press the side parts with some force to complete re-attach them.
-
-
-
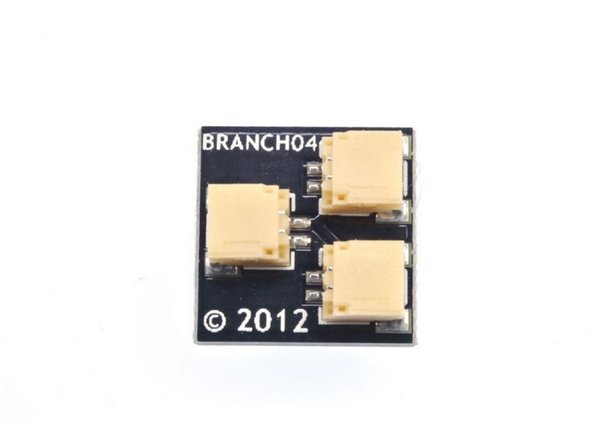
Connect the red and black power cord in this set to any one of the three plugs on the included BRANCH04 adapter board.
-
Connect power to any of the other plugs on the BRANCH04 board.
-
Head for the hills! Your evil robots are now activated.
-