Difficulty
Easy
Steps
5
Time Required
00:10:00 - 00:35:00

Private
This guide will not appear in search results and can only be viewed by team members!
Tools
Parts
-
-
There are several ways to read this guide:
-
Reading it on the web in your browser.
-
Downloading a PDF copy of the guide. You can do this by selecting "Download PDF" as shown by the red rectangle in the first photo. Click on the Options heading in the upper right corner of the screen (see the green rectangle).
-
In the "Dozuki" application, which is available for download from the Apple App Store and various Android and Google marketplaces.
-
If you view this guide in the Dozuki app, search for "Brickstuff" the first time you open the app, then select "Product Guides" from the categories listed under Brickstuff. Scroll down to find this guide.
-
You can also translate this guide into another language when viewing on the web. To do this, install a translator extension into your browser and use that extension/plug-in to translate the page. Using the main Google translate website (translate.google.com) does not work.
-
-
-
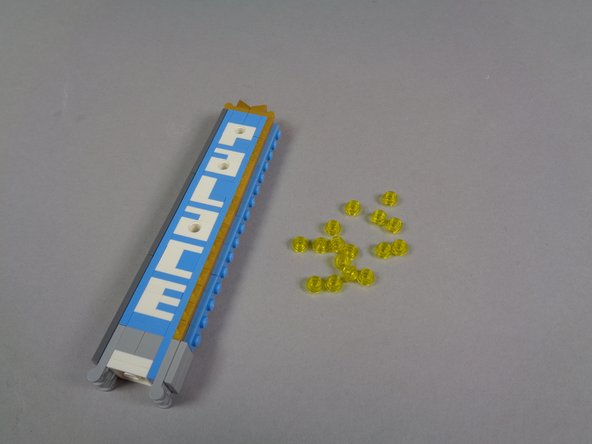
Remove your entire marquee from your Palace Cinema.
-
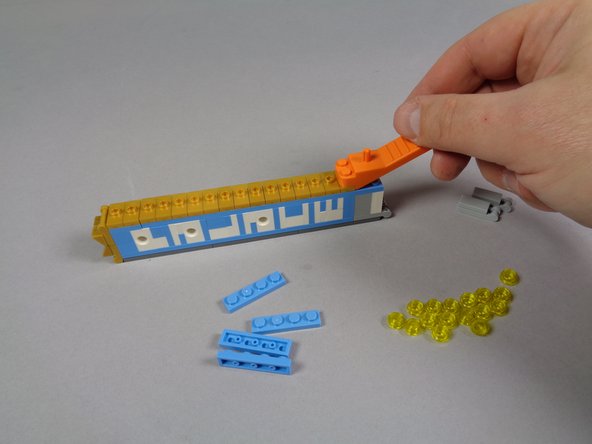
As shown in the photos for this step, carefully remove the top section of your marquee.
-
Make sure all four of the black plates with clips remain attached to your marquee base-- see the green arrows in the second photo, showing that none of the black plates are attached to the marquee top.
-
-
-
As shown in the first photo for this step, remove the 16 transparent yellow round 1x1 plates from the top of the marquee.
-
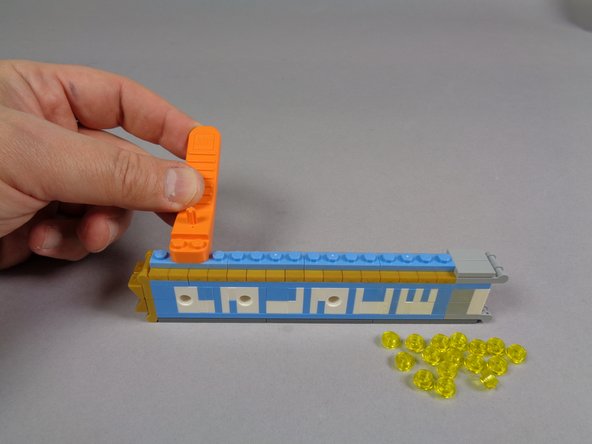
As shown in the second photo, use a brick separator to remove the light blue plates from on top of the gold jumpers.
-
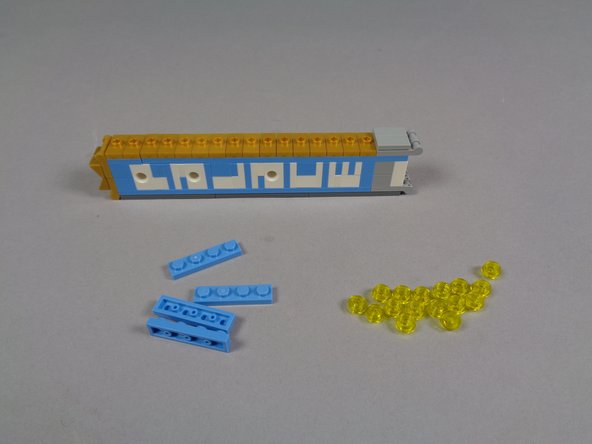
When you are finished removing parts, your marquee should look like the third photo in this step.
-
-
-
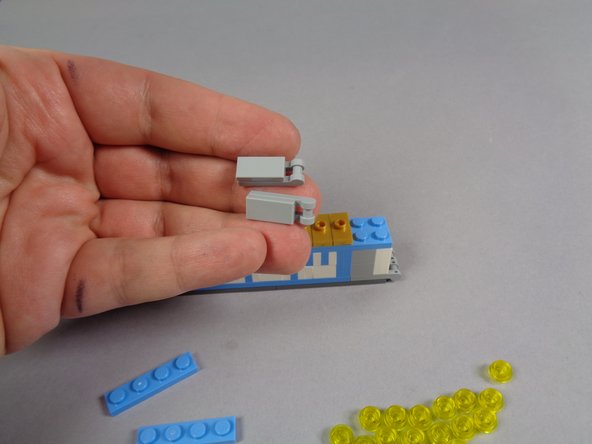
As shown in the first photo for this step, remove the two bottom gray plates and tiles from the front side of the marquee.
-
As shown in the second photo, use a brick separator to remove the 16 gold 1x2 jumper plates from the front of the marquee.
-
Your marquee should now look like the third photo of this step.
-
You can set aside the light blue and gold parts shown by the two red circles in the third photo. You will no longer need these.
-
-
-
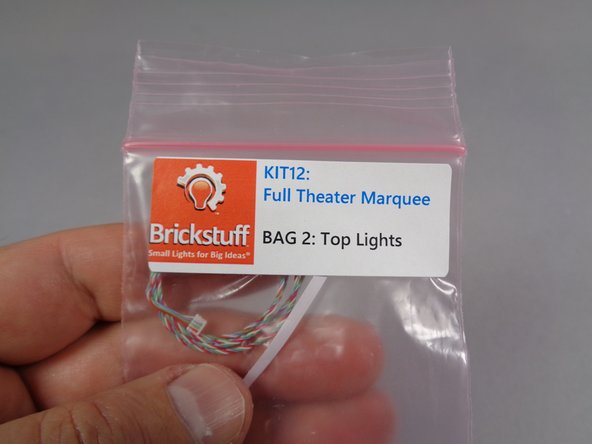
As shown in the first and second photos for this step, carefully remove the white light strip from Bag 2 ("Top Lights") in your kit.
-
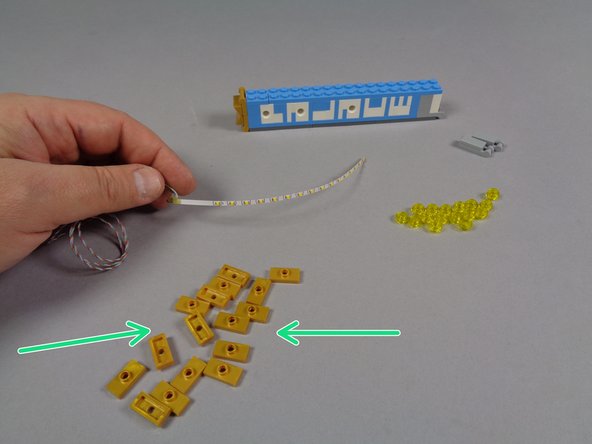
Also remove the 16 replacement gold 1x2 jumper plates from Bag 1 as shown by the green arrows in the second photo.
-
The replacement gold jumper plates included with your kit have holes drilled in their center.
-
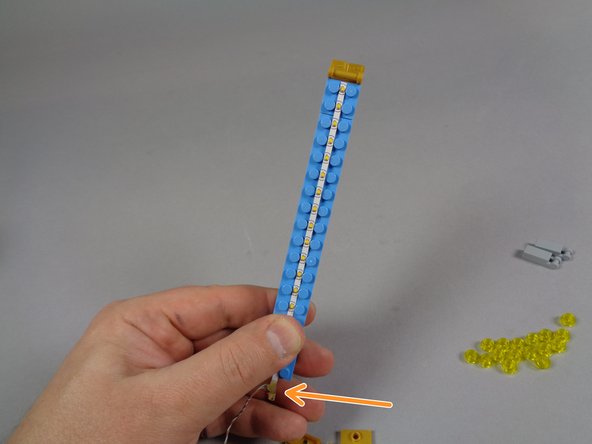
As shown in the third photo, carefully align the light strip so it runs down the middle of the long light blue plate. The light strip will fit between the studs.
-
As shown by the orange arrow in the third photo, mount the light strip so its wires are on the bottom end of the marquee.
-
The light strip and its wires are very fragile! Use extreme care when working with the light strip and wires. A damaged light strip cannot be repaired.
-