Tools
Parts
-
-
There are several ways to read this guide:
-
Reading it on the web in your browser.
-
Downloading a PDF copy of the guide. You can do this by selecting "Download PDF" as shown by the red rectangle in the first photo. Click on the Options heading in the upper right corner of the screen (see the green rectangle).
-
In the "Dozuki" application, which is available for download from the Apple App Store and various Android and Google marketplaces.
-
If you view this guide in the Dozuki app, search for "Brickstuff" the first time you open the app, then select "Product Guides" from the categories listed under Brickstuff. Scroll down to find this guide.
-
You can also translate this guide into another language when viewing on the web. To do this, install a translator extension into your browser and use that extension/plug-in to translate the page. Using the main Google translate website (translate.google.com) does not work.
-
-
-
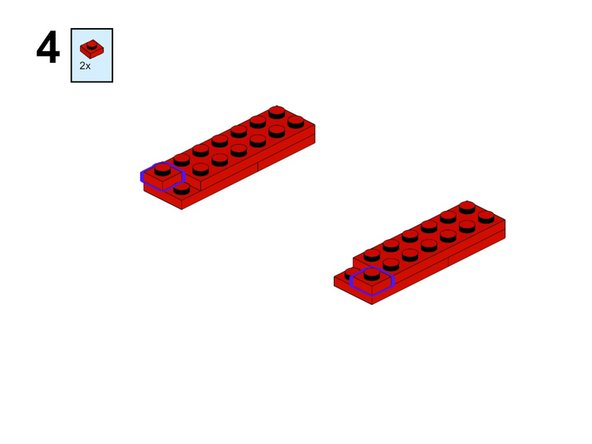
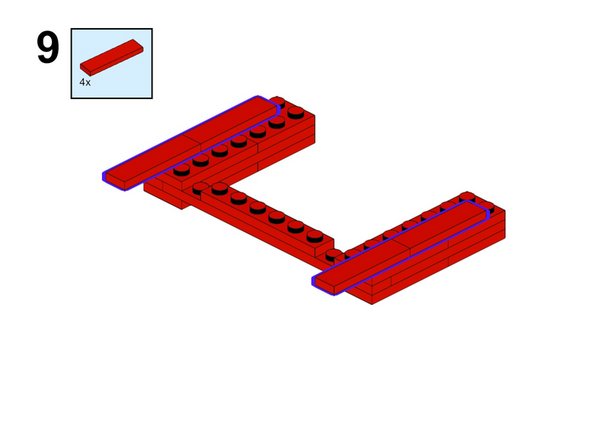
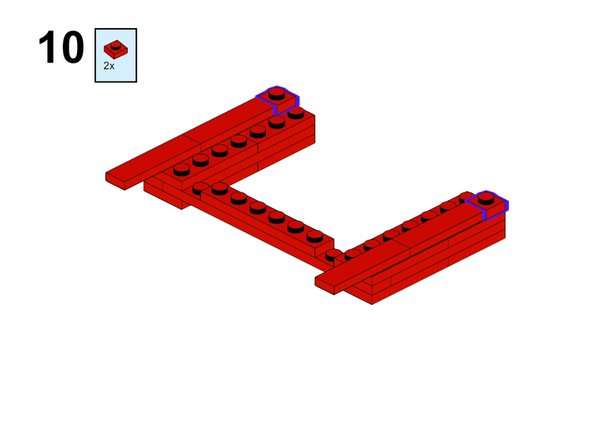
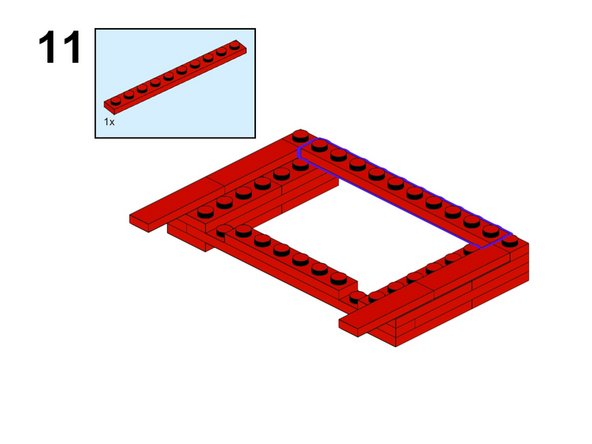
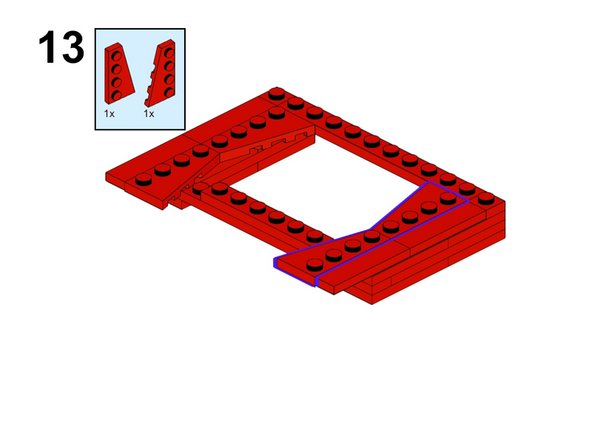
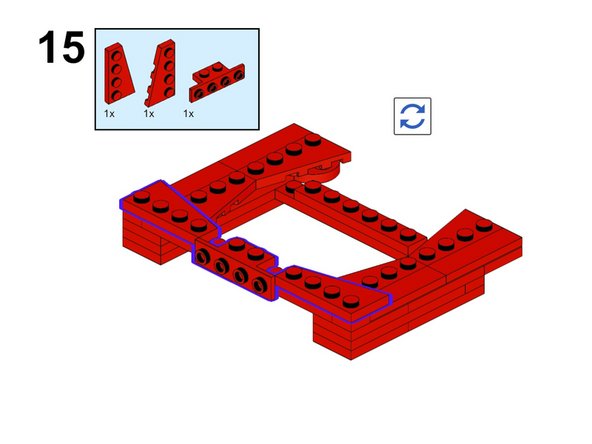
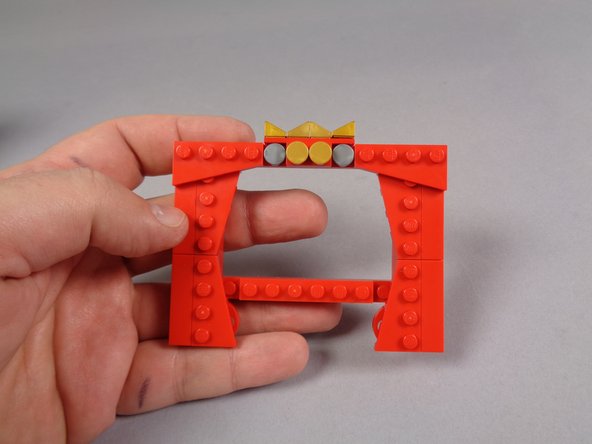
You will begin by assembling the brick-built frame to hold your video player module.
-
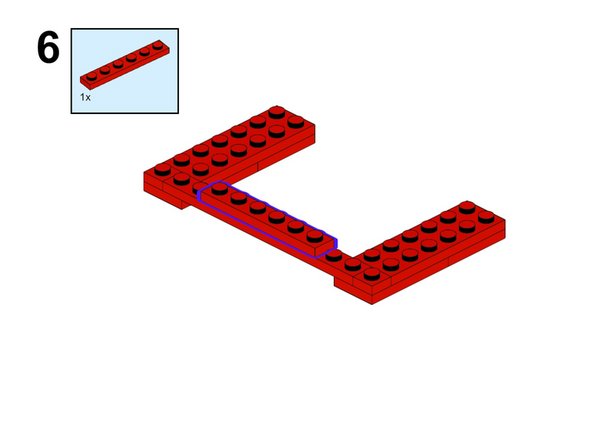
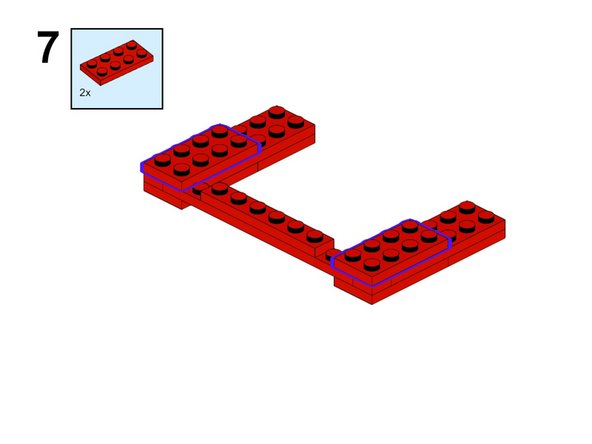
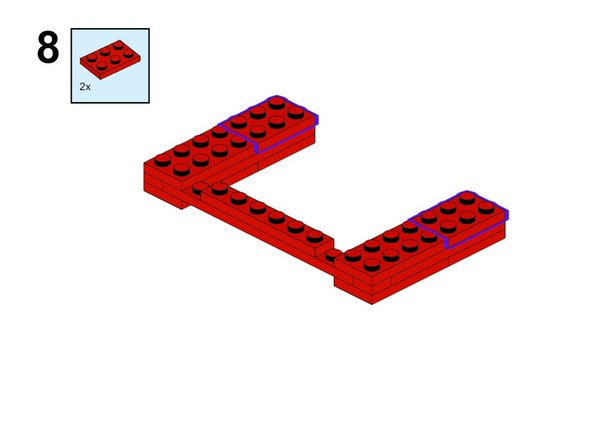
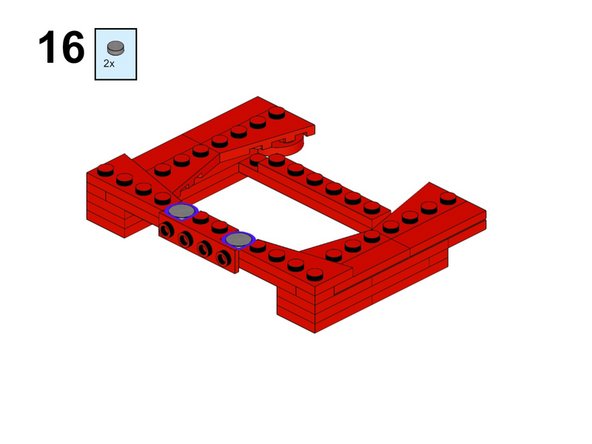
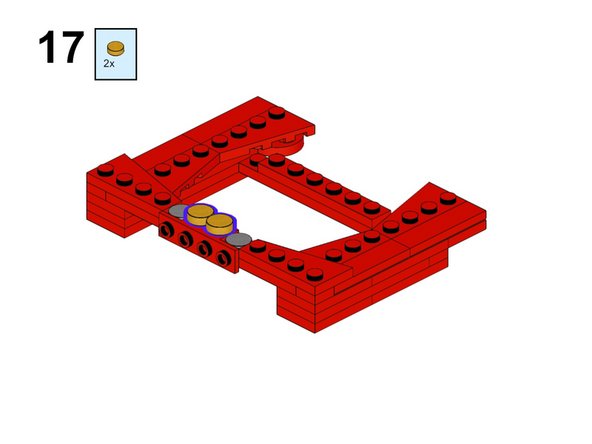
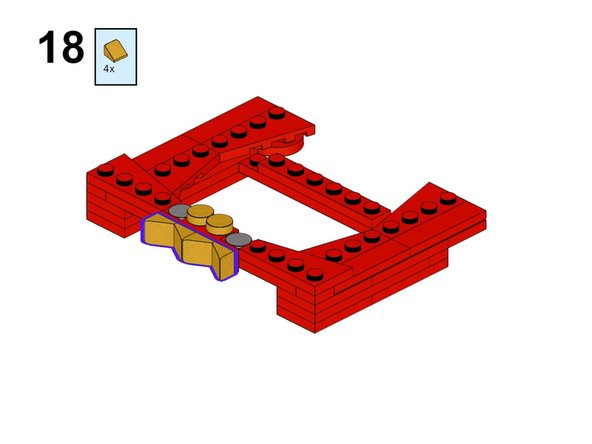
The photos in this and the following steps show how to build the frame using the genuine LEGO® parts included with your kit.
-
-
-
Continue assembling your cinema frame as shown.
-
-
-
Continue assembling your cinema frame as shown.
-
-
-
Continue assembling your cinema frame as shown.
-
-
-
Continue assembling your cinema frame as shown.
-
-
-
Complete the final cinema frame assembly as shown in these final steps.
-
You will have two red 1x4 LEGO® plates left over after assembling the frame. You will use these to attach the frame to the wall of the Palace Cinema.
-
-
-
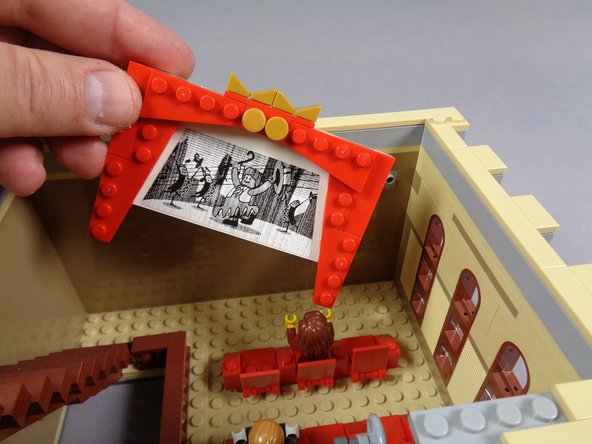
As shown by the first photo in this step, remove the entire cinema frame assembly as shown.
-
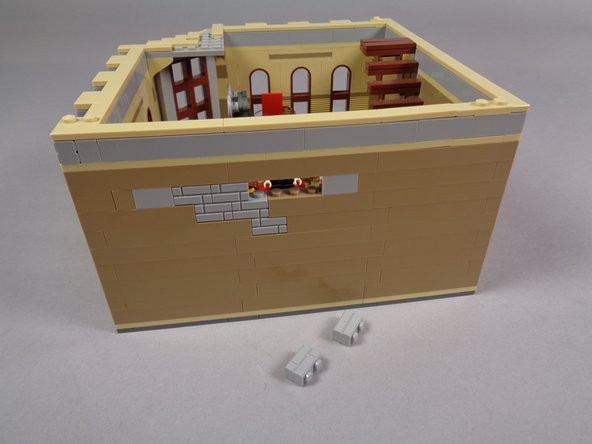
As shown in the second and third photos, remove two of the light bluish gray bricks from the area behind where the cinema frame was mounted. This will leave a hole in the wall for running the wires from the video player.
-
-
-
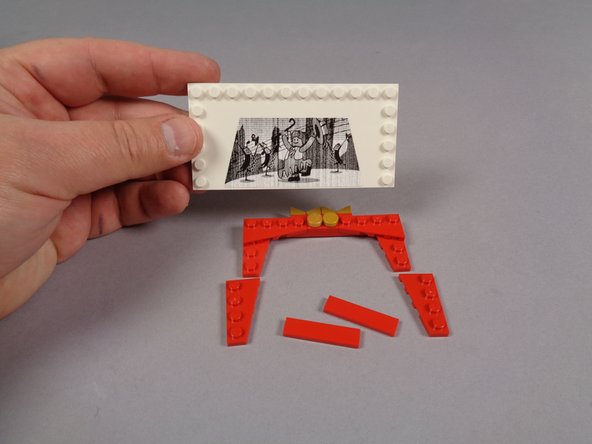
As shown in the first photo for this step, remove all of the existing LEGO® parts from the large white tile with the movie image sticker.
-
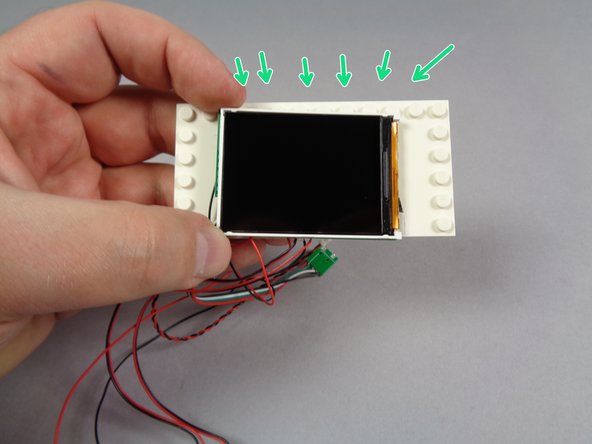
As shown in the second photo, carefully remove the video player from its anti-static bag and position it in the center of the large white plate.
-
Make sure to position the video player on the white plate so that the studs run along the top of the plate, as shown by the green arrows in the second photo.
-
As shown in the third photo for this step, get your newly-assembled replacement cinema frame ready.
-
-
-
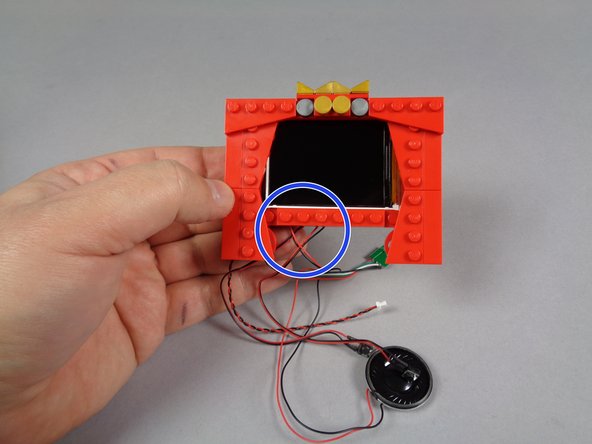
As shown in the first photo for this step, mount the new frame on top of the video player and large white tile.
-
As shown by the blue circle in the first photo, all of the wires from the video player should be coming out the bottom of the frame, and should not be sitting on top of any LEGO® studs that might pinch the wires.
-
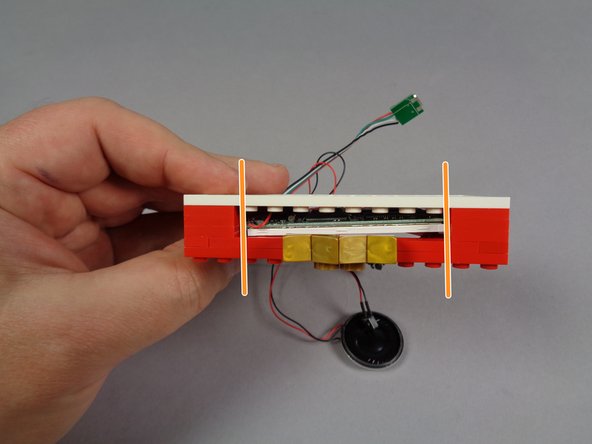
The orange lines in the second photo show how the video screen should be positioned behind the red frame. The video player will be loosely positioned, so it will move around a little. You can move it so it is in the center, and straight.
-
As shown in the third photo, all of the wires for the video player should come out the bottom rear of the frame. There should be a small gap between the red frame and the large white tile that allows the wires to pass.
-
-
-
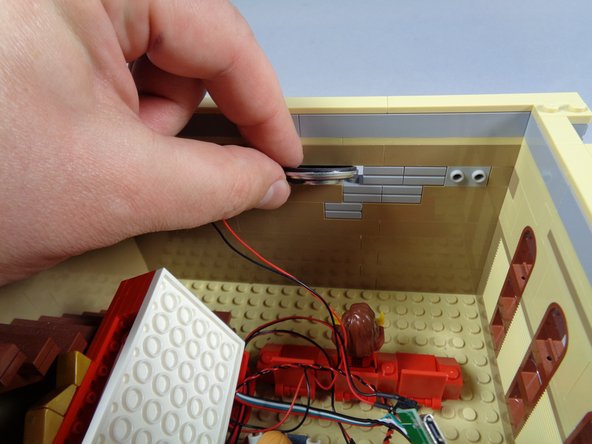
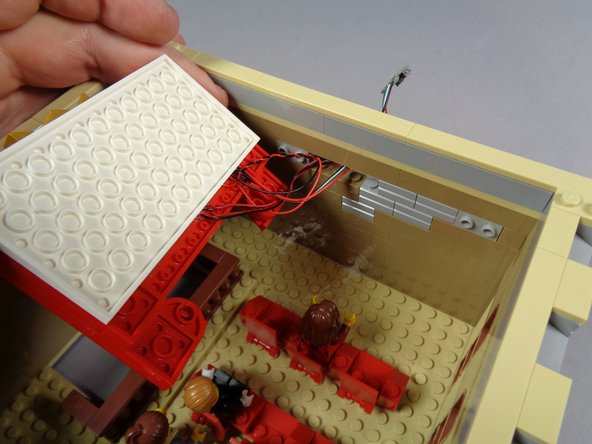
As shown by the two photos in this step, next you will pass the video player wires through the hole in the wall that you made earlier by removing the two light bluish gray bricks.
-
-
-
As shown in the first photo for this step, take the two red 1x4 LEGO® plates left over from building the new frame and attach them to the two bricks with side-facing studs in the cinema wall.
-
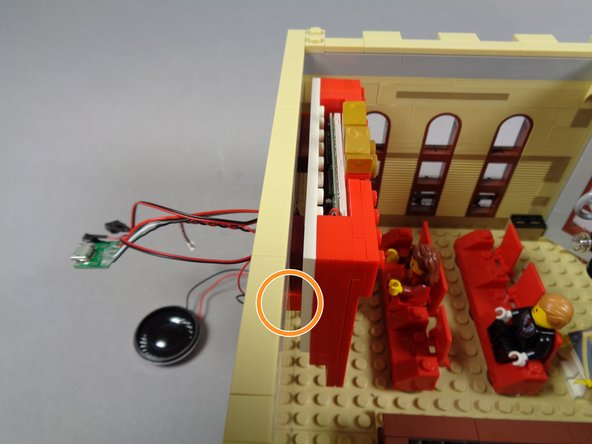
As shown in the second photo, re-attach the cinema frame to the wall. The two 1x4 LEGO® plates will hold the frame in place while providing space for the video player wires to pass.
-
The orange circle in the third photo shows how the frame will sit against the wall, with the two 1x4 plates providing a gap for the wires to pass.
-
-
-
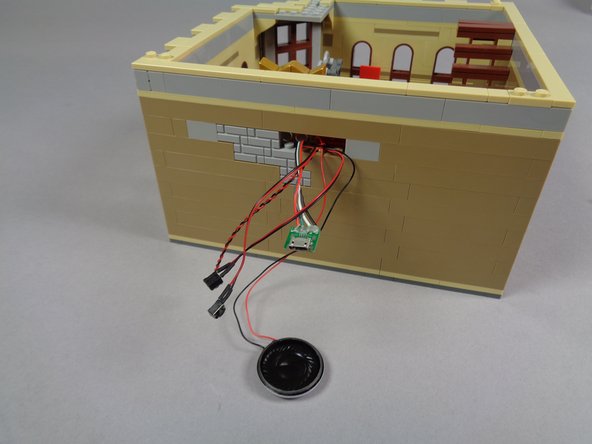
Your setup should now look like the first photo in this step, with all video player wires passing through the hole in the cinema wall.
-
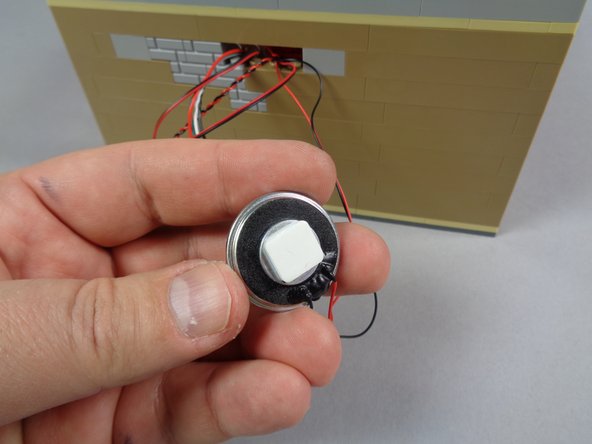
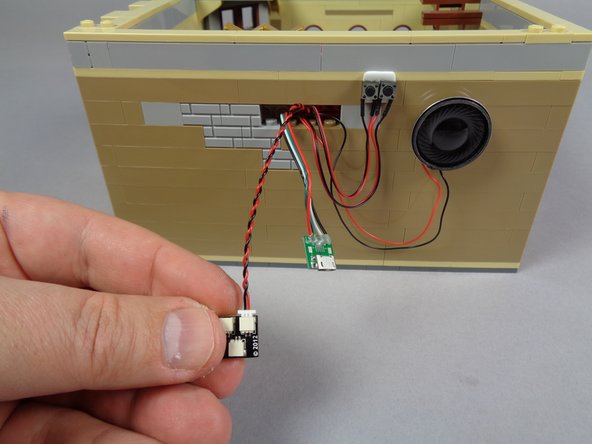
As shown in the second and third photos, you can use one of the large sticky squares included with your kit to mount the video player speaker to the outer cinema wall.
-
You don't have to attach your speaker this way-- you could leave it hanging loose or conceal elsewhere in the cinema.
-
The third photo shows the speaker mounted using the sticky square.
-
-
-
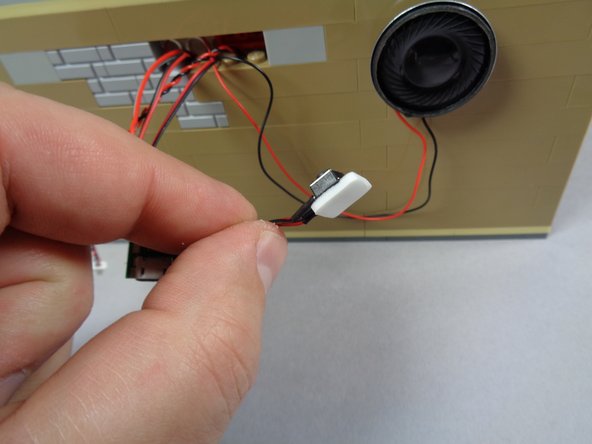
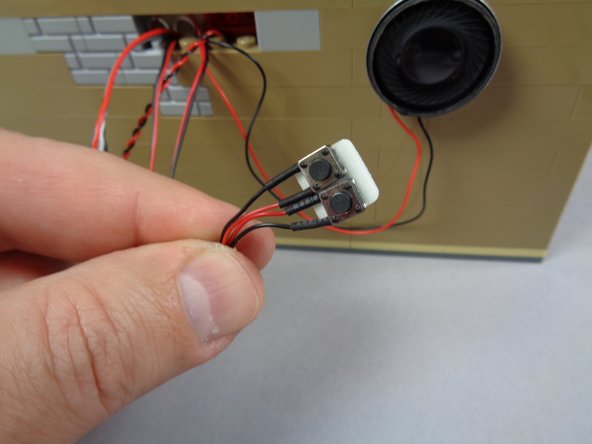
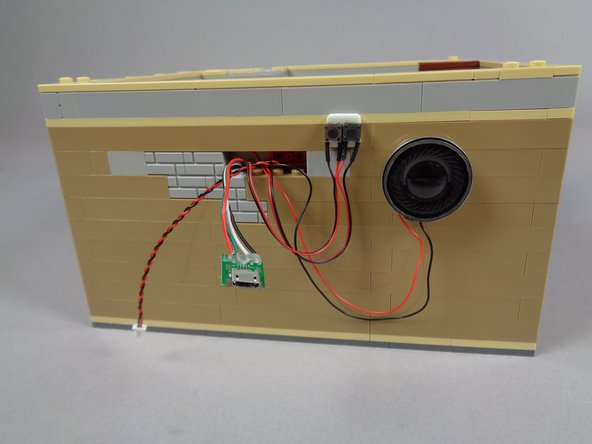
As shown in the three photos for this step, you can use another large sticky square to mount the two volume buttons (volume up/down) to the rear outer cinema wall.
-
You don't have to attach the buttons this way-- you could leave them hanging loose or conceal elsewhere in the cinema.
-
-
-
Your cinema video player is now attached and ready for the show.
-
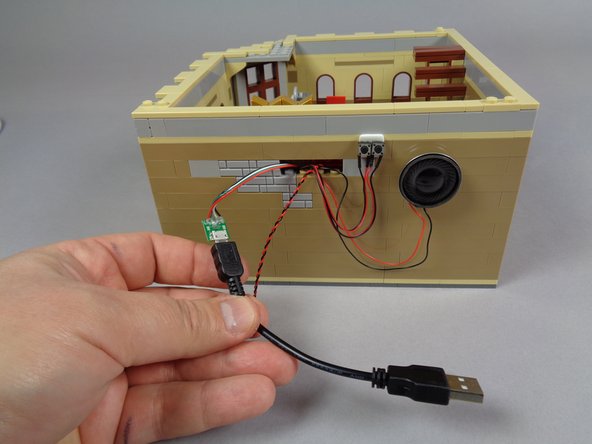
The two photos in this step show two different approaches for powering the video player:
-
The first photo shows the USB cable provided with your kit, connected to the USB plug from the video player. When connected to a USB charger, battery bank, or other power source, you can power the screen using the USB plug.
-
The second photo shows the BRANCH04 adapter included with your kit connected to the Brickstuff power plug on the video player. You can use this setup to power the video player using a standard Brickstuff power source.
-
Use one or the other power inputs-- never connect power to both!
-
The USB power input will only make the videos play when connected to a power source other than a computer. When connected to a computer, the video screen will switch to file transfer mode, and videos will not play.
-
If you use USB power for your video screen, you can still use the BRANCH04 adapter and Brickstuff power plug on the video player to power other lights in your setup. For example, you could use this connection to power the Brickstuff Real Marquee on the front of the cinema, if you also had this kit.
-
-
-
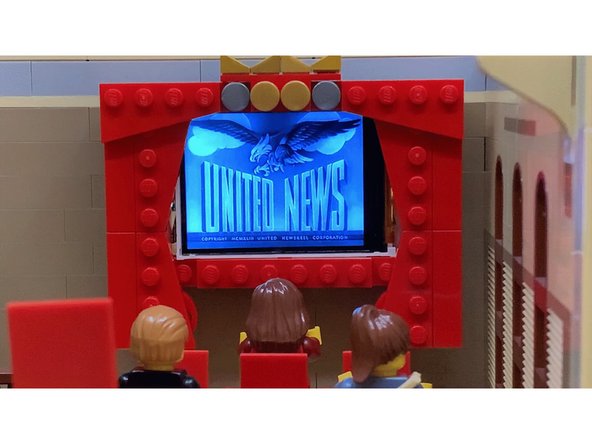
Your kit ships with two classic black and white videos loaded onto the video player. These will start playing as soon as power is connected.
-
If you would like to change the videos or add your own, please refer back to the printed instructions that came with your kit for details about formatting and loading your own videos.
-
Thank you for purchasing this Brickstuff kit! We hope your minifigures enjoy their time at the movies.
-


