Introduction
This guide shows how to install the parts included in the Brickstuff TARDIS console lighting kit. This kit requires the LEGO® Dr. Who Set #21304. If you do not have the LEGO set required for this kit, you can purchase it online via the BrickLink marketplace.
Tools
No tools specified.
Parts
-
-
This kit is written with the expectation that you have already completed building your LEGO® Doctor Who set.
-
-
-
We know we told you to build your LEGO® set, and now we're telling you to take it apart? That's right-- this is the easiest way to make sure all the steps are completed in the correct order.
-
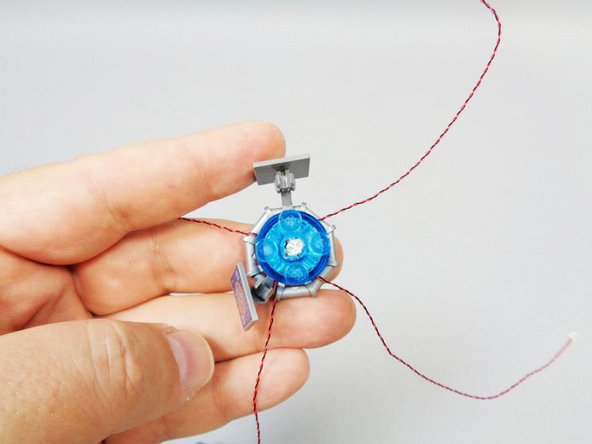
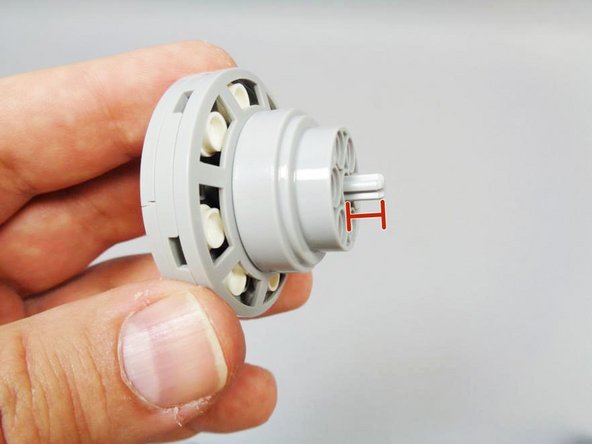
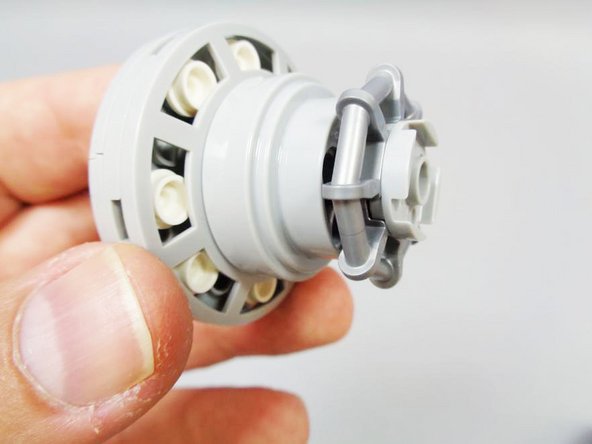
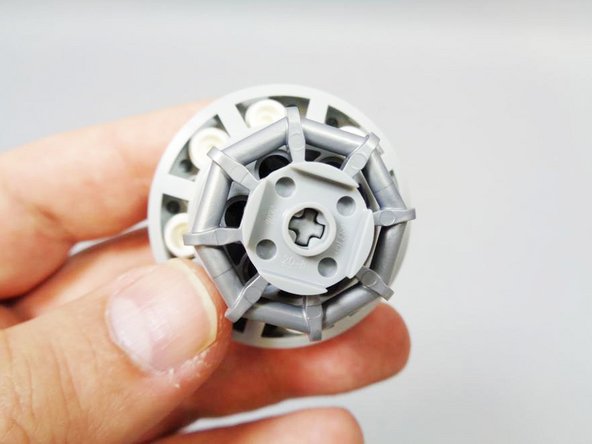
Remove the main tower from the center assembly, and disassemble all of the parts as shown in the third photo in this step.
-
You won't need the two long Technic axles or the main blue center core (shown with the two red arrows), so you can set these parts aside or put them back into the LEGO® set box.
-
-
-
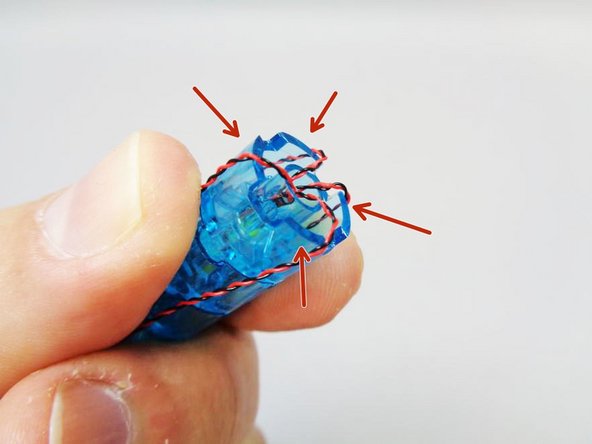
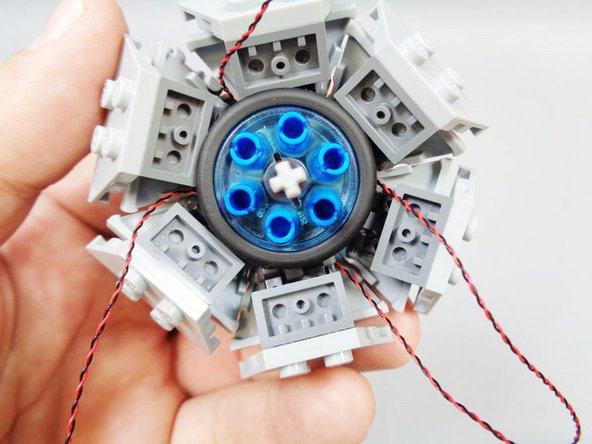
Take the pre-lit core that came with the Brickstuff kit, and carefully bend the four wires so they loop over the large flat portions of the core bottom piece.
-
Do not disassemble the pre-lit core bricks. They are not glued together, but disassembling or separating them will pull out the LEDs and/or the LED wires, damaging the set.
-
Make sure the wires are on the large flat parts of the brick bottom as shown by the red arrows. DO NOT let the wires sit in the smaller square gaps.
-
-
-
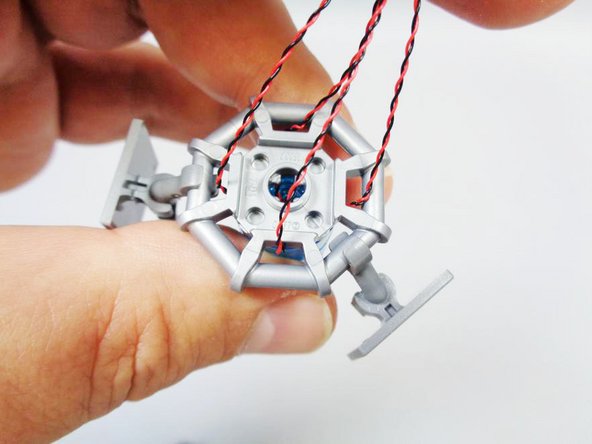
Re-attach the bottom of the main core that you removed several steps prior.
-
Make sure the wires extend out the sides and are not on top of any studs.
-
Carefully run the wires down to the bottom of the gray piece and through the gaps as shown by the orange circles.
-
-
-
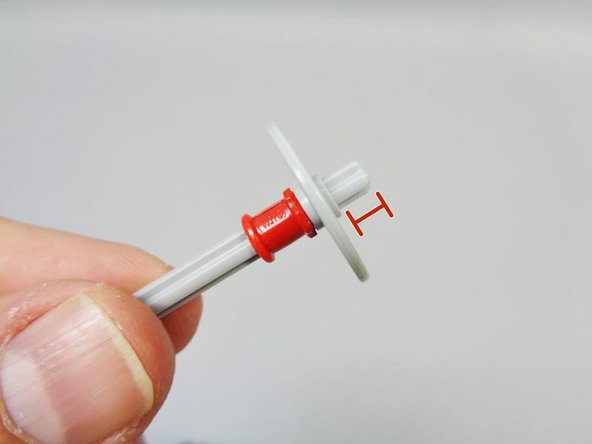
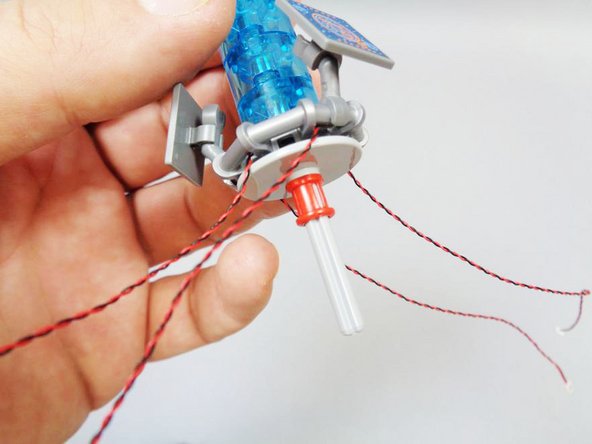
Using one of the light bluish gray Technic axles provided with the lighting kit, attach one of the light bluish gray discs from the original kit, and add the red bushing below it.
-
Note the red line in the photo-- the axle should extend above the disc, but not too far. Just enough to catch the bottom of the console, but not too far that the axle pokes all the way through the bottom light blue round brick.
-
Gently press the axle assembly up into the bottom of the console. The axle should attach and grip, but not extend too far into the bottom of the lowest light blue round brick.
-
-
-
Re-attach the console bottom, pressing the lower assembly up into the axle from the previous step.
-
Make sure the light wires don't get pinched under the console or pulled by the axle.
-
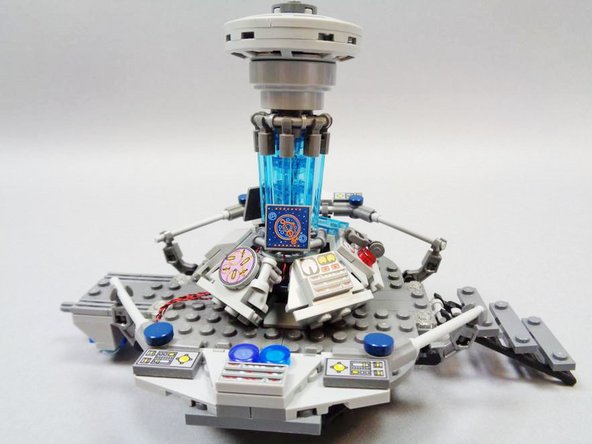
The second photo shows how everything should look once the full console has been re-attached to the transparent blue core.
-
Note that the second photo is missing the last round gray disc-- this should be added to the bottom of the assembly, so just the gray disc and axle are extending out the bottom.
-
-
-
You should notice that the light wires are different lengths. The longest wire corresponds to the LED in the lowest position in the core, and the shortest wire corresponds to the LED in the highest position in the core.
-
The second photo shows the correct way to attach the LED wires. Sequence is important in order for the lighting effect to work correctly.
-
Attach the longest wire to the connector labeled "1" on the lighting effect board (red arrow in the photo).
-
Attach the next-longest wire to the connector labeled "2" (orange arrow in the photo).
-
Attach the next-longest wire to the connector labeled "3" (green arrow in the photo).
-
Attach the shortest wire to the connector labeled "4" (blue arrow in the photo).
-
Note that LED wires will only fit into connectors one way-- do not force. You can press the plugs into the sockets with your fingernail, and you will feel a "click" when the plugs snap into place.
-
-
-
Connect your power supply to the large plug on the lighting effect controller. The lighting sequence should start automatically.
-
If the LEDs have been connected in the right order, the effect will look like the video on this page.
-
If the sequence does not look like the video, try connecting the lights in a different order. Refer back to the previous step if needed.
-
Plugs can be disconnected from the lighting effect controller by firmly but slowly pulling from the wire.
-
-
-
Gather all four light wires to one side of the console as shown in the first photo (we recommend gathering the wires as shown, toward the rear of the TARDIS console).
-
Re-attach the console to the base by pressing down on the assembly so the axle goes into the base. The console should now be attached and stable.
-
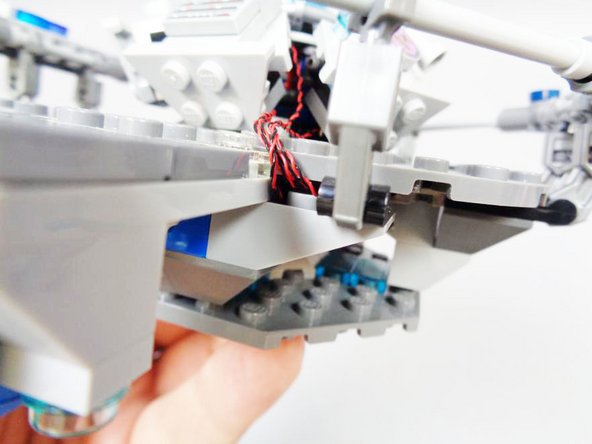
As shown in the second and third photos, you can remove one of the round light blue transparent plates under the console floor to hold the wires in place.
-
-
-
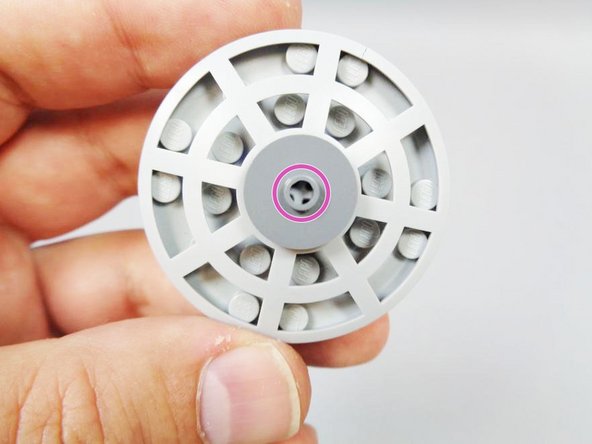
Insert the second light bluish gray axle provided with this light kit into the top of the console assembly (which you removed at the beginning of the installation process).
-
As shown by the pink circle in the second photo, the axle should be inserted all the way to the top, so it touches the upper tile.
-
After fully inserting the axle, the end should stick out just a little (as shown in the third photo). It is important that it stick out just enough to catch on the parts below, but not too far that it extends into the top of the first transparent core brick (or the top LED will be damaged).
-
-
-
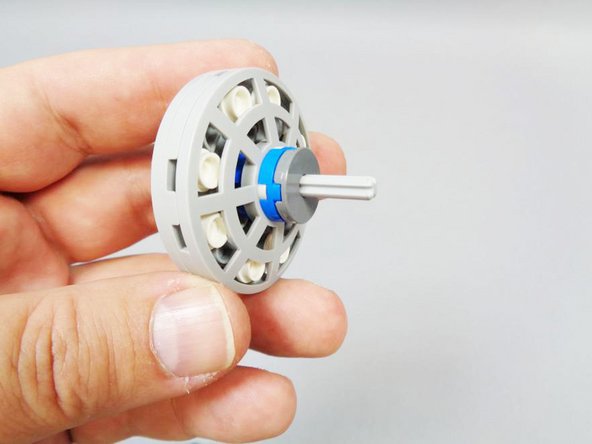
Re-attach the remaining pieces to the top of the console.
-
As shown in the second photo, the axle should not extend beyond the bottom of the round plate, but it should extend far enough that it grips the plate.
-
-
-
Gently press the top of the console onto the topmost transparent light blue core brick. It should sit firmly on the top of the core, but note that unlike with the original model, the console top may detach if the model is bumped, because there is no longer an axle running through the center of the core.
-
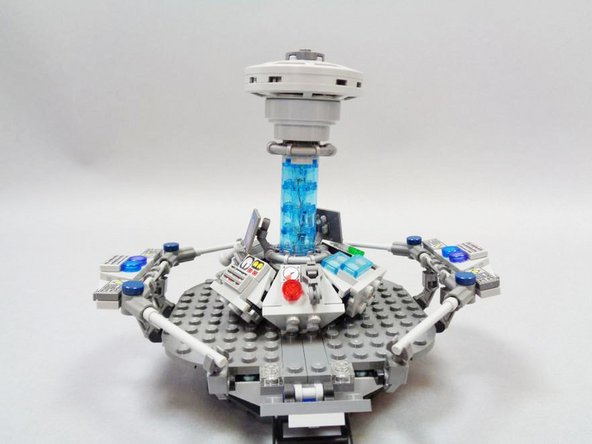
Finally, re-attach the transparent rods around the central core.
-
Connect your TARDIS to its power supply, and enjoy!
-