
-
-
There are several ways to read this guide:
-
Reading it on the web in your browser.
-
Downloading a PDF copy of the guide. You can do this by selecting "Download PDF" as shown by the red rectangle in the first photo. Click on the Options heading in the upper right corner of the screen (see the green rectangle).
-
In the "Dozuki" application, which is available for download from the Apple App Store and various Android and Google marketplaces.
-
If you view this guide in the Dozuki app, search for "Brickstuff" the first time you open the app, then select "Product Guides" from the categories listed under Brickstuff. Scroll down to find this guide.
-
You can also translate this guide into another language when viewing on the web. To do this, install a translator extension into your browser and use that extension/plug-in to translate the page. Using the main Google translate website (translate.google.com) does not work.
-
-
-
This accessory kit requires the Brickstuff light + sound kit for the LEGO® Hogwarts Castle. Before proceeding with this guide, make sure you have completed installing the main kit and that all of the lights in the main kit are working.
-
These instructions are for Version 2 of the Accessory Kit. You will know you have Version 2 because the "Central Power parts" bag will have one large adapter board with 10 small connectors, as shown in the second photo. If you do not have this adapter in your kit, you have Version 1 of the kit and should follow the instructions located here.
-
The photo in this step shows the parts included with your kit. You should have:
-
One bag labeled "Accessory Kit-- Central Power Parts"
-
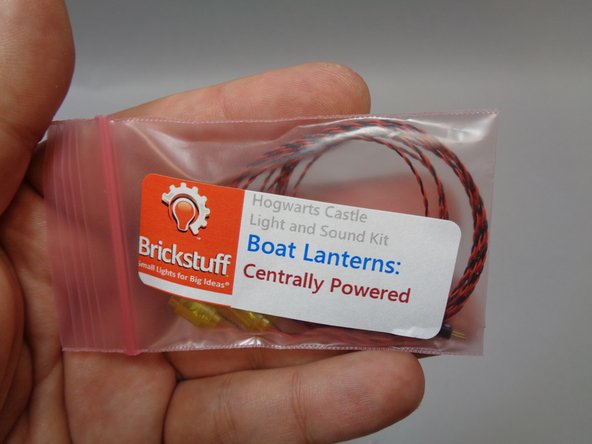
One bag labeled "Boat Lanterns-- Centrally Powered"
-
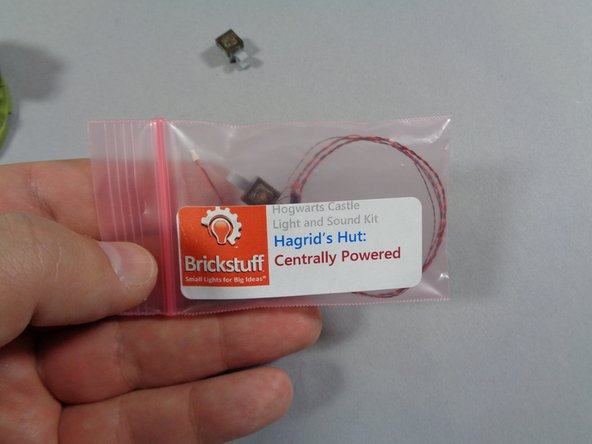
One bag labeled "Hagrid's Hut-- Centrally Powered"
-
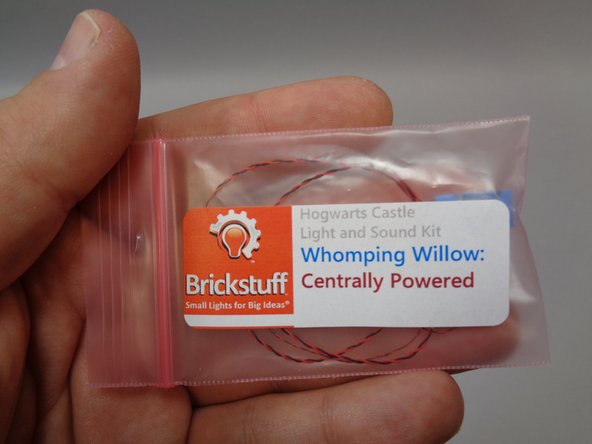
One bag labeled "Whomping Willow-- Centrally Powered"
-
-
-
You will begin with the five boats. You will need the bag of boat lanterns.
-
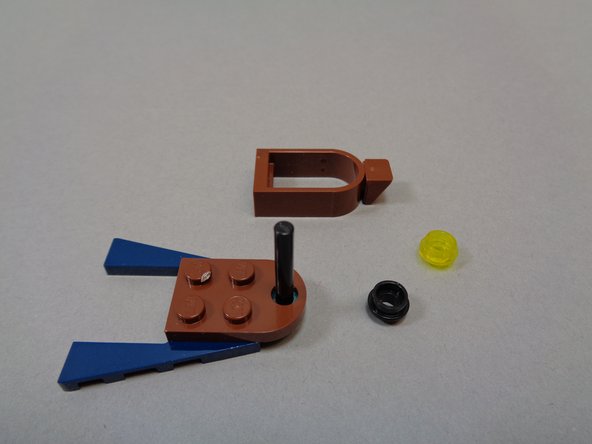
As shown in the second photo, disassemble each of your five boats as shown.
-
-
-
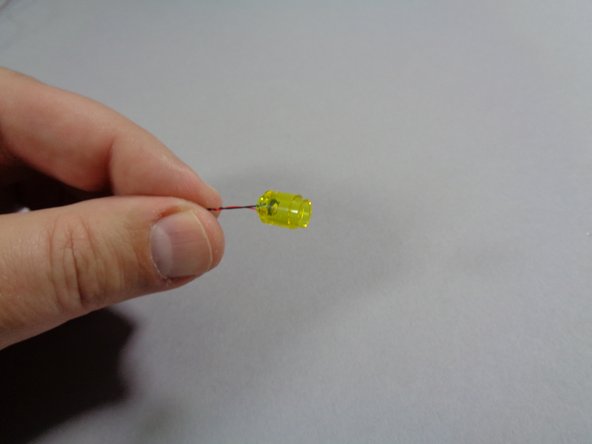
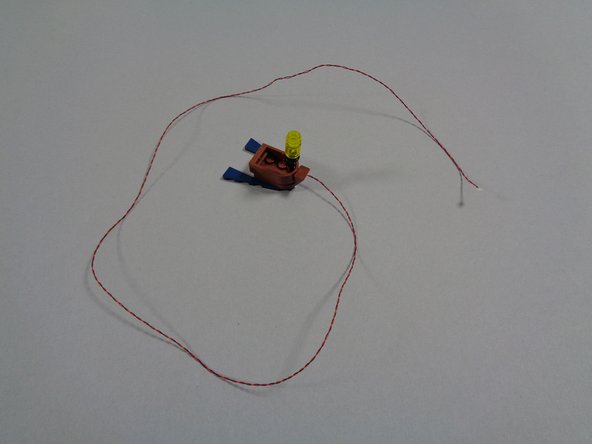
Your bag of Boat Lanterns should have five pre-wired Pico LED lights with flickering yellow lights, and also five transparent yellow round LEGO bricks.
-
As shown in the first photo, take each LED light and carefully bend the light so it faces forward as shown.
-
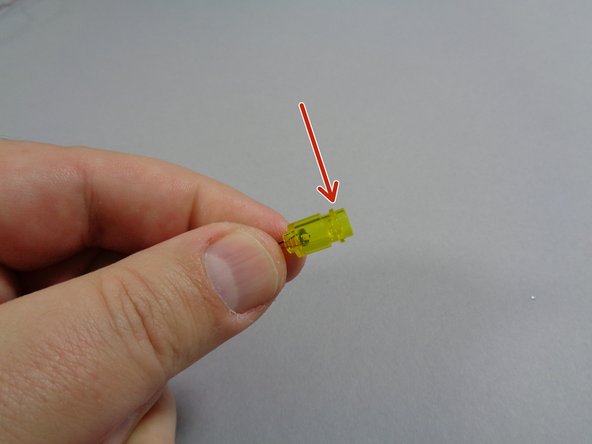
As shown in the second photo, feed the LED light plug through the large hole of the round LEGO brick so the small white plug comes out the small hole of the brick. This should allow the LED light to slide inside the transparent yellow brick as shown in the third photo.
-
As shown in the third photo, make sure the LED light board sits flat inside the transparent yellow LEGO brick, so the light shines up through the open top of the brick.
-
Repeat this process for the remaining four lanterns.
-
-
-
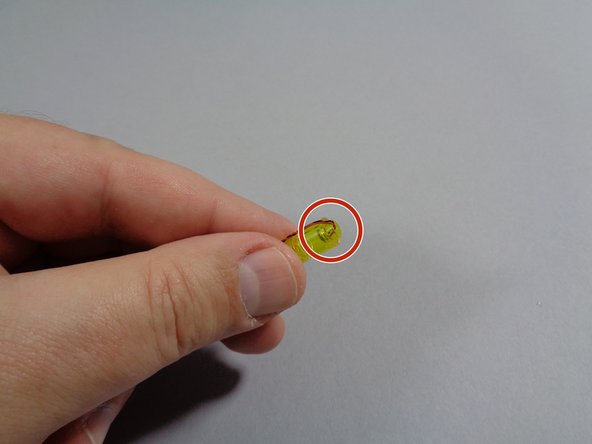
As shown by the red arrow in the first photo, attach the transparent yellow round 1x1 plate from your LEGO® set to the top of the transparent yellow LED brick with the Pico LED light inside.
-
As shown by the red circle in the second photo, bend the light wire with your fingernail so it runs down the side of the stud on the bottom of the transparent yellow brick.
-
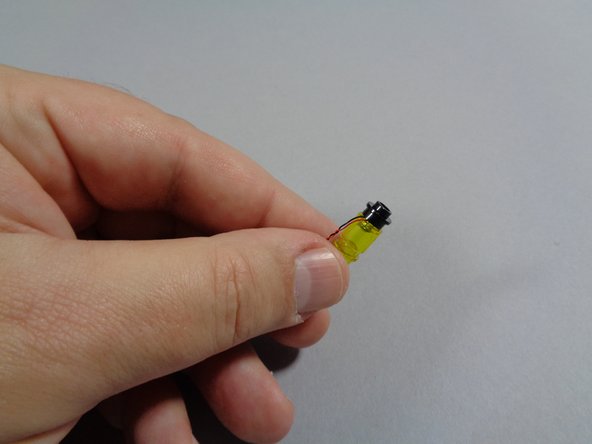
As shown in the third photo, re-attach the round black plate to the bottom of the lantern.
-
-
-
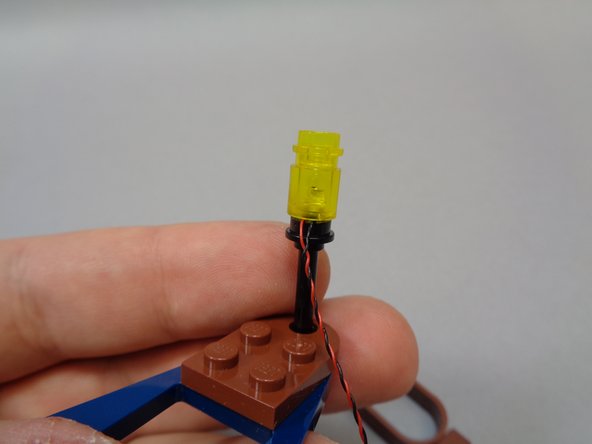
As shown in the first photo, re-attach the lantern assembly to the top of the black rod.
-
As shown in the second photo, re-attach the boat frame. The frame will hold the LED power wire in place.
-
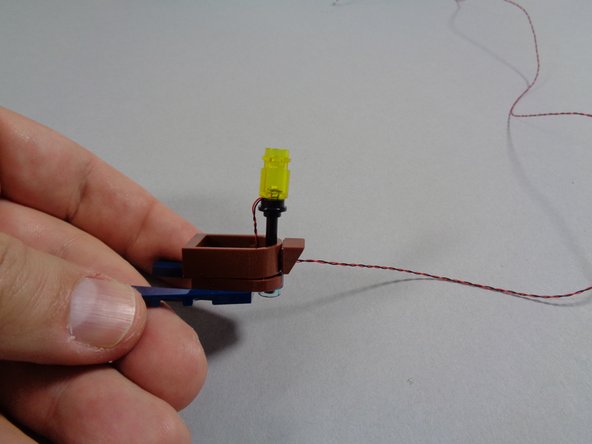
The third photo shows what your finished boat should look like after installing the lantern with light inside.
-
Repeat the previous steps for each of the five boats.
-
-
-
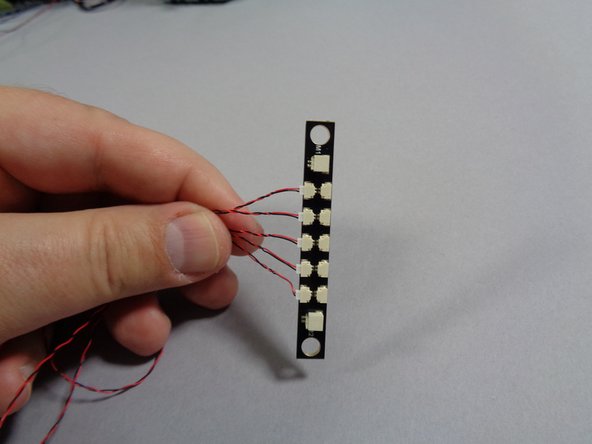
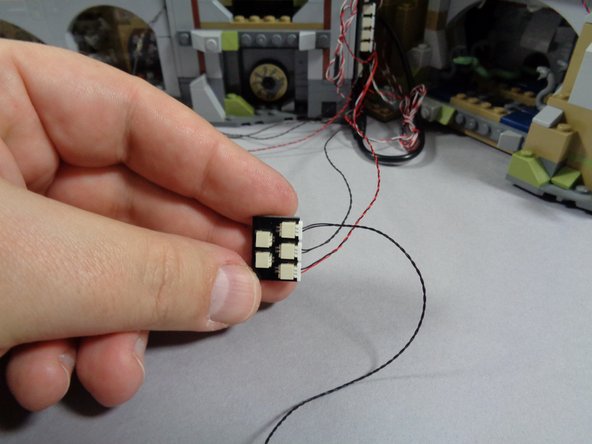
Inside the "Central Power Parts" bag, there will be a large adapter board with 10 small plugs as shown in the first photo. Connect the five lanterns to any five small plugs on the adapter board.
-
It does not matter which of the small plugs you connect the boat lanterns to-- all of the plugs are electrically connected.
-
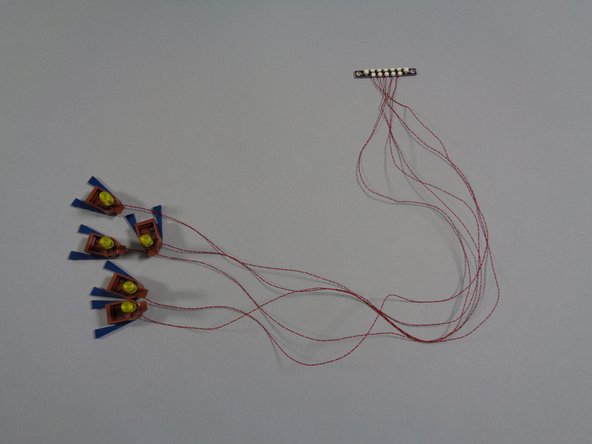
The second photo shows how the boat wire connections should look after you have connected all five of them to the small plugs on the adapter board.
-
Also inside the "Central Power Parts" bag, there should be a black connecting cable with large plugs. As shown in the third photo, connect one end of this cable to either of the large plugs on the end of the adapter board.
-
It does not matter which large connector you connect the wire to.
-
-
-
Behind your castle, you should have a BRANCH18 adapter with five plugs from when you installed the main light and sound kit. There should be two open plugs on the BRANCH18 adapter board.
-
As shown in the first photo, connect the other end of the boat lighting cable to one of the open plugs on the BRANCH18 adapter
-
You can use any open connector on the BRANCH18 adapter.
-
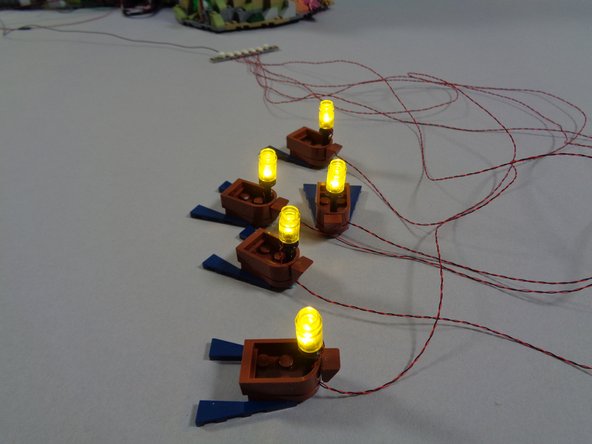
To test the boat lights, connect your main castle kit to power. You should see all five boat lanterns turn on and begin flickering as shown in the second photo.
-
Keep your castle connected to power for the remaining installation steps.
-
-
-
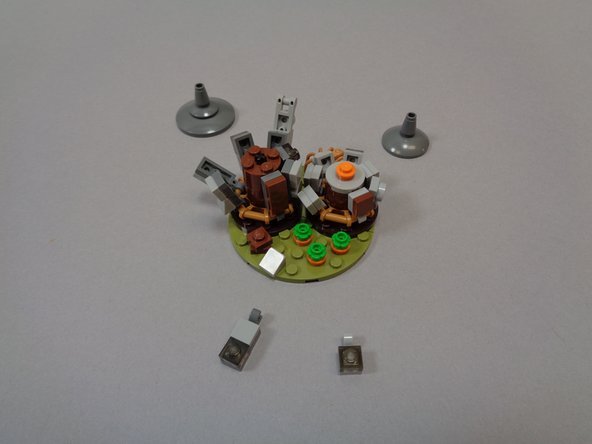
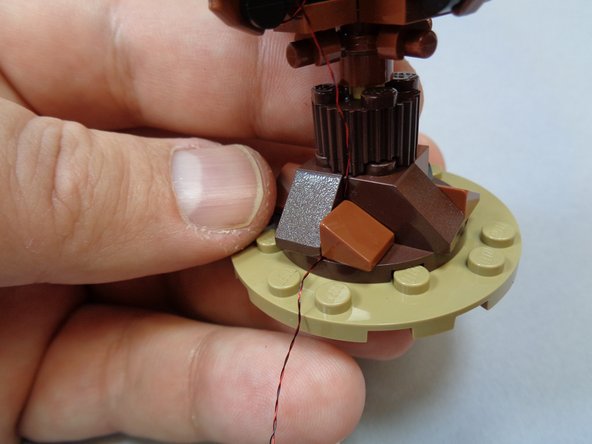
Remove the two roofs and two front windows from Hagrid's Hut as shown in the photos for this step.
-
-
-
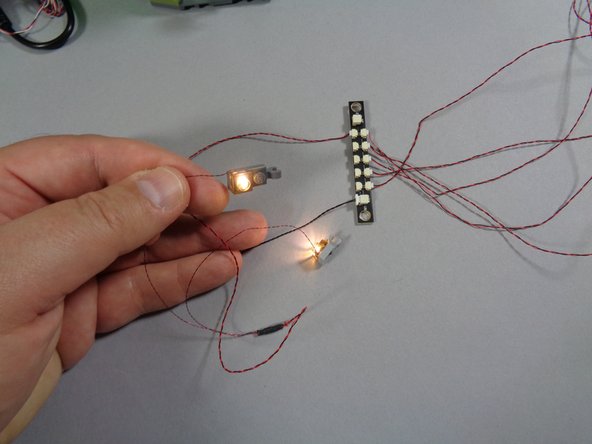
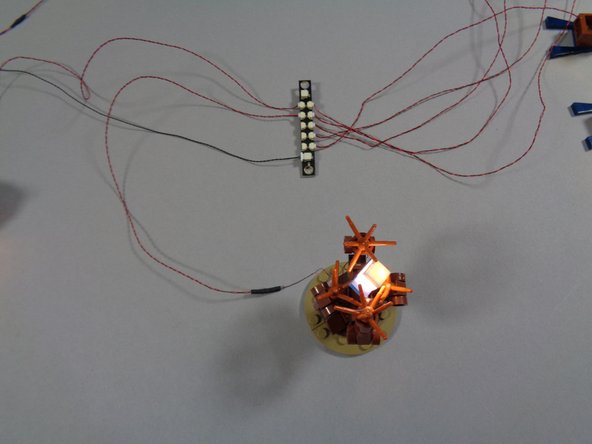
Remove the pre-wired lighting assembly from the bag labeled "Hagrid's Hut: Centrally Powered" (shown in the first photo).
-
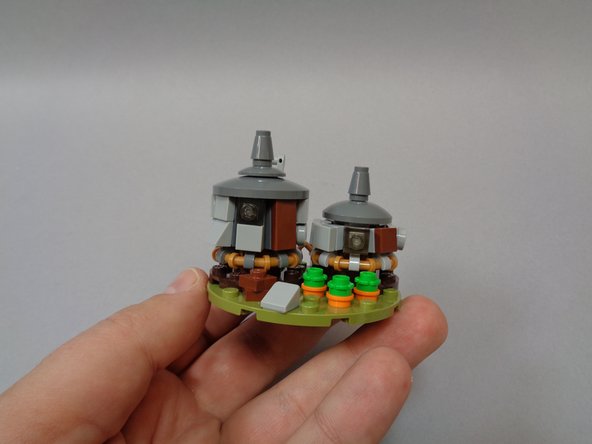
As shown in the second photo, connect the Hut light assembly to any of the open small plugs on the same adapter board the boat lanterns are connected to.
-
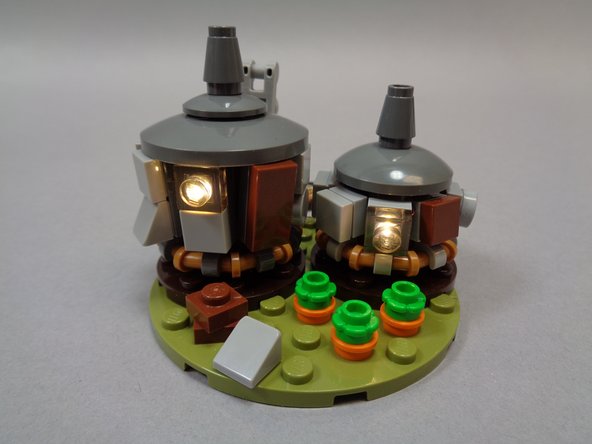
Both Hut lights should turn on as shown.
-
-
-
As shown in the first photo, take the light bluish gray 1x1 LEGO® tile and switch it onto the pre-lit replacement window.
-
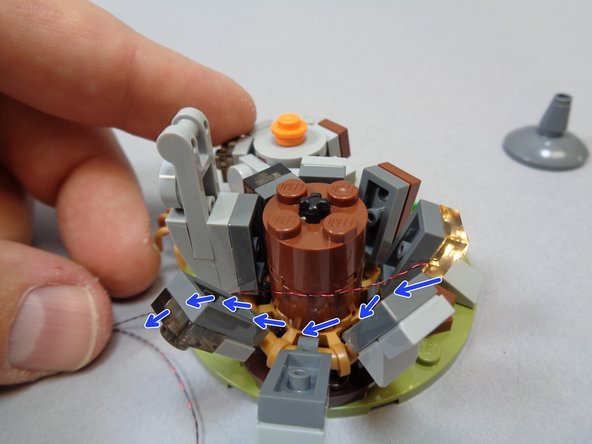
Re-attach the large front window piece and run the light wires around the center core as shown by the blue arrows in the second photo.
-
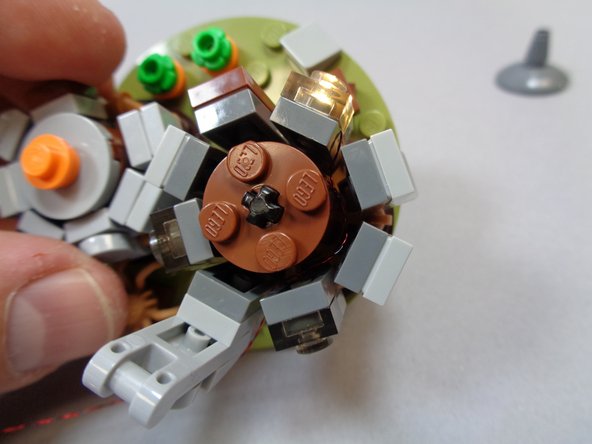
Re-position all pieces around the large hut. You should now have your mounted light with the wire extending out the back of the hut as shown in the third photo.
-
-
-
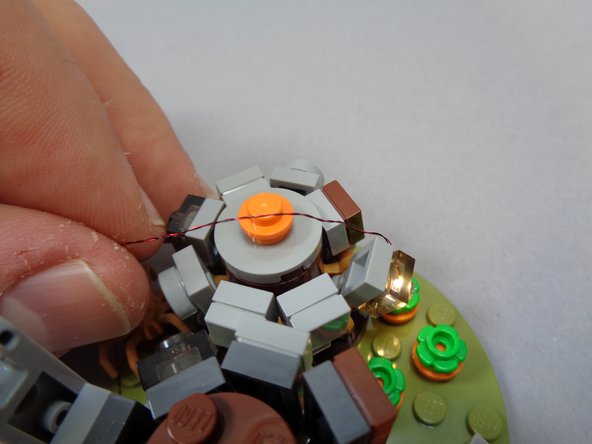
Repeat the same process for the smaller window as shown in the first photo.
-
As shown in the second photo, you should now have all side pieces re-positioned with both lights in the front section and two wires coming out the back of the huts.
-
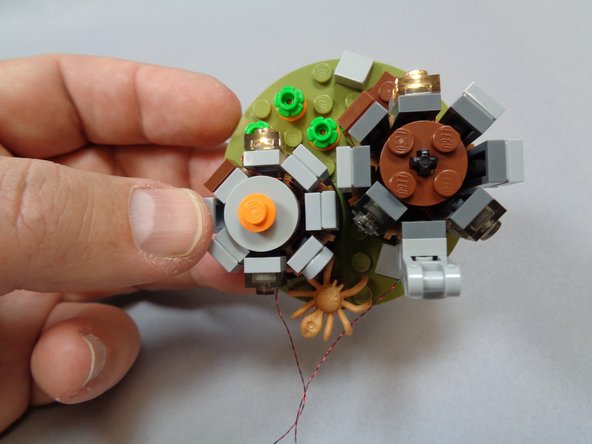
As shown in the third photo, re-attach the two roofs. Your hut is now complete.
-
-
-
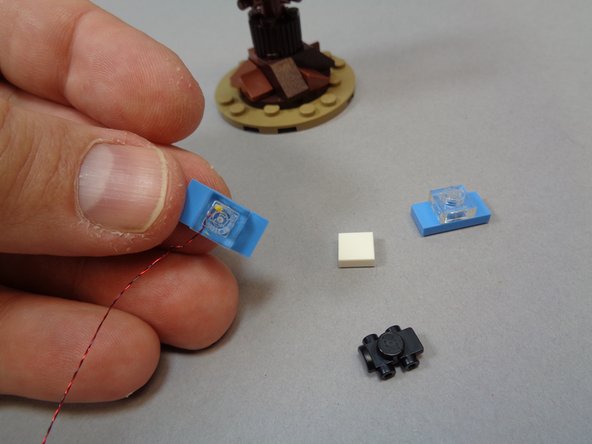
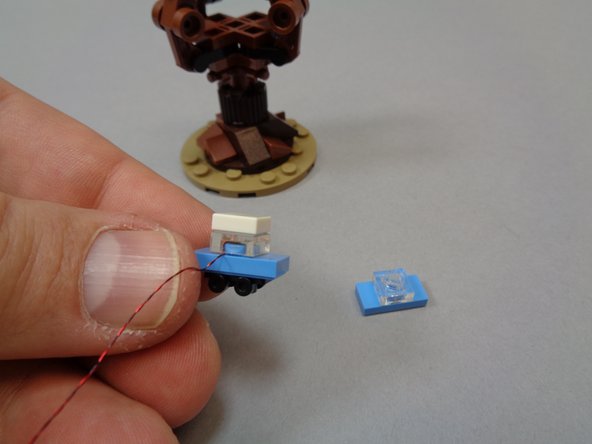
Take the pre-lit car assembly out of the "Whomping Willow-- Centrally Powered" bag, and as shown in the second photo, remove the white top and black wheels from the car in your LEGO® set and transfer them to the pre-lit car as shown in the third photo.
-
-
-
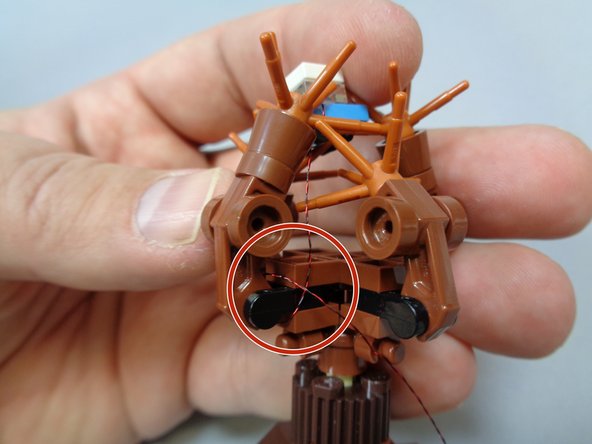
As shown in the first photo, position the car back in the tree branches and wind the light power wire around the branches several times to hold the car in place as shown by the red circle.
-
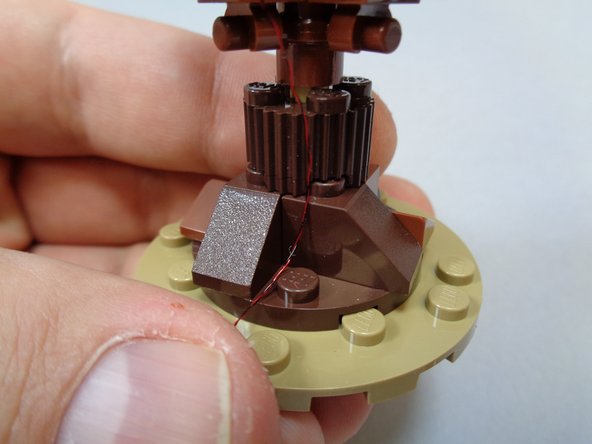
As shown in the second and third photos, remove the brown 1x1 slope from the base of the Willow and use it to hold the power wire in place.
-
Make sure to run the wire between, not on top of, any studs.
-
-
-
Connect the Whomping Willow light to any of the open small plugs on the adapter board as shown in the photo. The light inside the car should turn on.
-
-
-
The video in this step shows a demonstration of how your lights should look after installation and with power turned on.
-


Cancel: I did not complete this guide.
One other person completed this guide.
