-
-
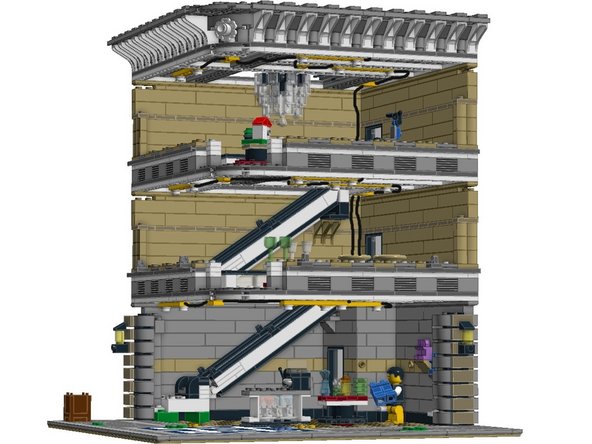
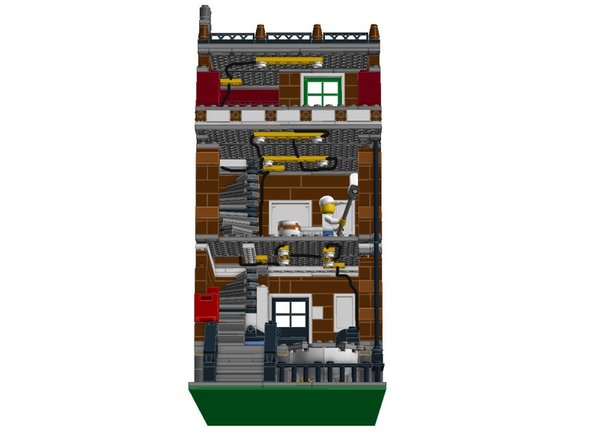
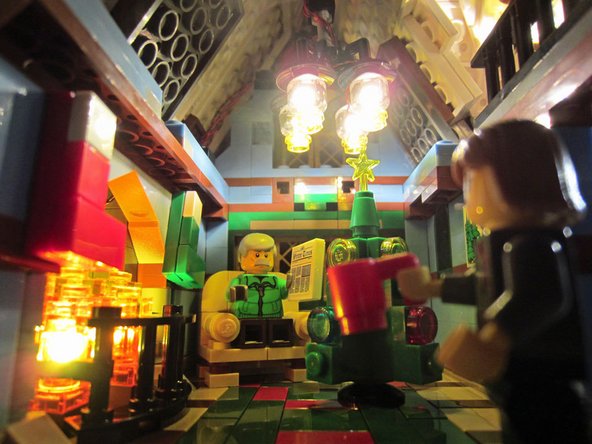
This guide illustrates several methods for using Brickstuff LED Light Strips to illuminate two LEGO® Modular Building kits: the Grand Emporium (10211) and the Pet Shop (10218).
-
Although this guide addresses the LEGO® Modular Building sets, the lighting techniques described here can be used to light any structure or creation.
-
-
-
Before you begin installing lights, it is important to plan your lighting layout.
-
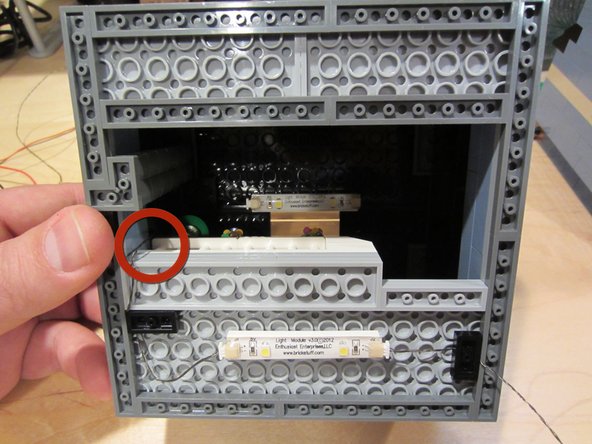
After you've built your building, start looking for holes! You will need to find as many pathways to run your wires as inconspicuously as possible.
-
Doors make a great pathway for wires to pass between levels.
-
Stairwells are great ways to pass a large number of feeder wires.
-
If you are lucky enough to have a sub-basement or other pathway out the back of a building, consider yourself lucky!
-
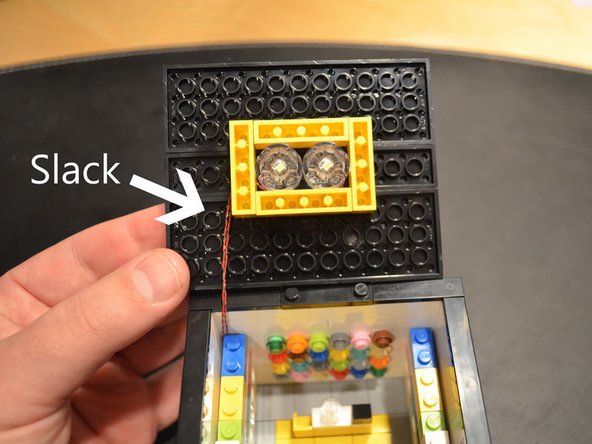
After you've examined the possible pathways for your wires, it's a good idea to test-mount the lights and connecting cables, to make sure everything fits with a little slack left over.
-
-
-
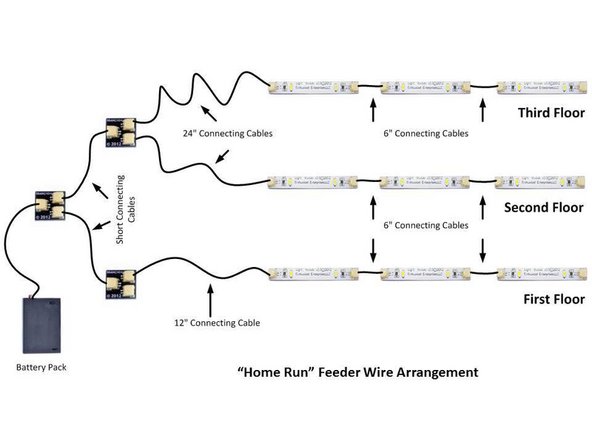
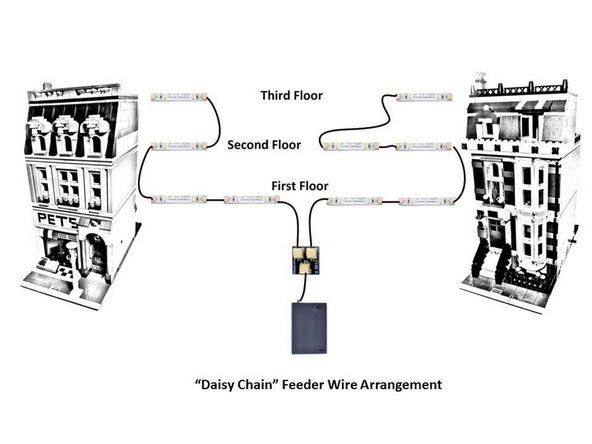
After you've identified paths for your wiring within the structure of your creation, you should decide on a wiring arrangement. There are two basic arrangements:
-
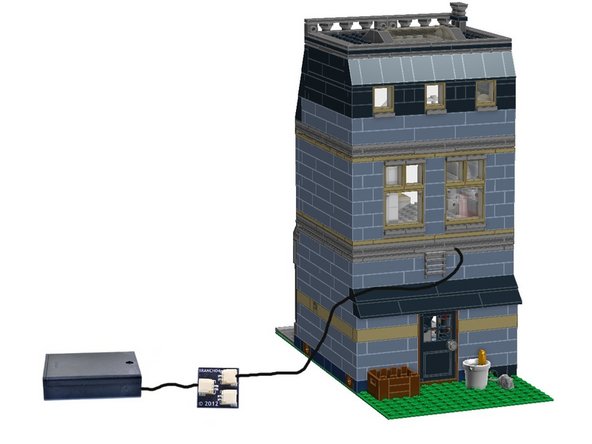
A "Home Run" feeder wire arrangement
-
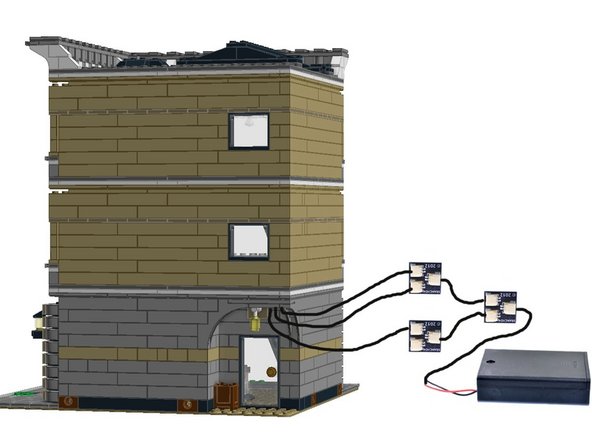
A "Daisy Chain" feeder wire arrangement
-
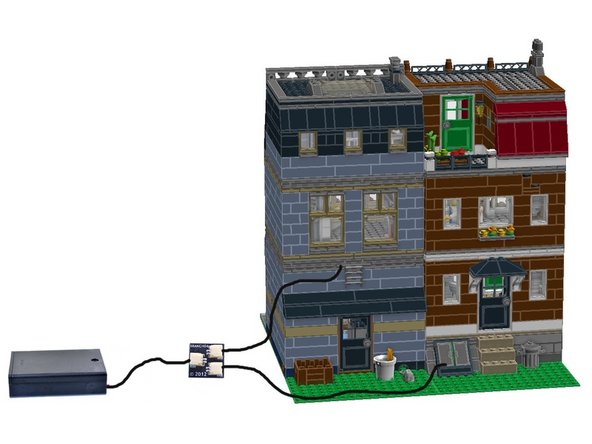
The two illustrations in this step outline both of these arrangements in more detail (click on the images to view larger).
-
In general, Home Run feeder wire arrangements are better when you want to control lighting independently (for instance, switching lights on and off on the third floor), or when you have a very large installation with 100 lights or more.
-
Daisy Chain feeder wire arrangements are convenient when running lighting into multiple buildings, or when conserving cables and/or adapters I important.
-
When deciding on an arrangement, it's a good idea to test both the Home Run and Daisy Chain designs, to see which provides the best overall effect.
-
-
-
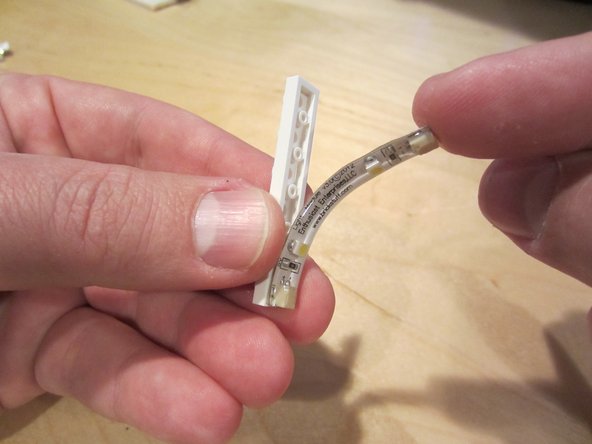
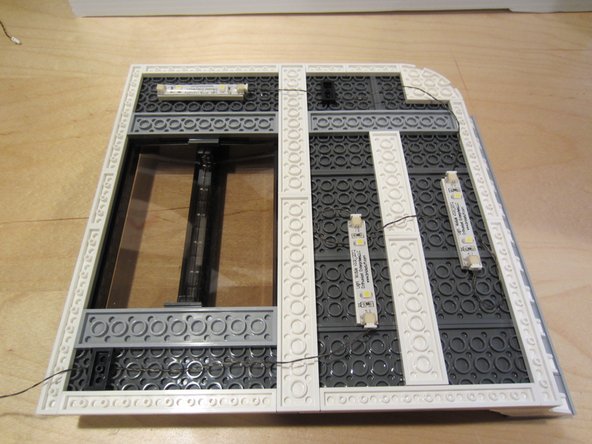
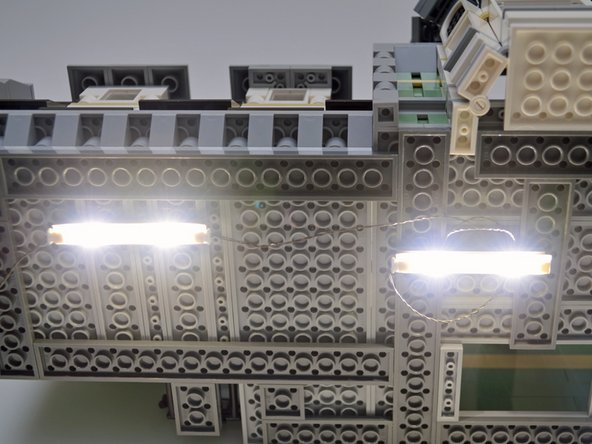
If you are using Brickstuff Lighting Strips, you can mount the lights using the self-adhesive backing.
-
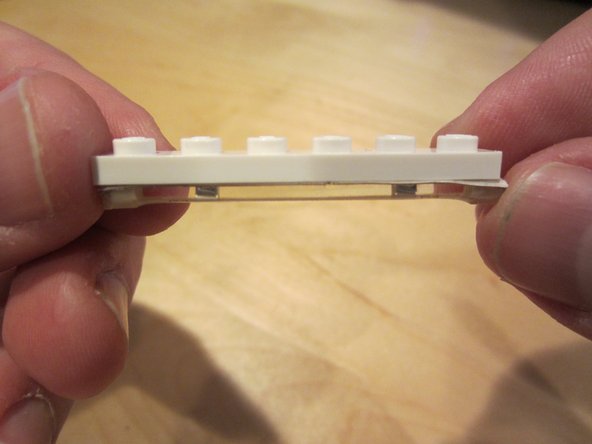
If mounting in a LEGO® creation, we recommend attaching the Light Strips to 1x6 plates first-- this ensures a snug fit, but also allows for repositioning later if needed.
-
As a general rule, you should avoid removing mounted light strips and trying to re-affix them to another surface-- the adhesive will wear out and strips may not stay in place.
-
-
-
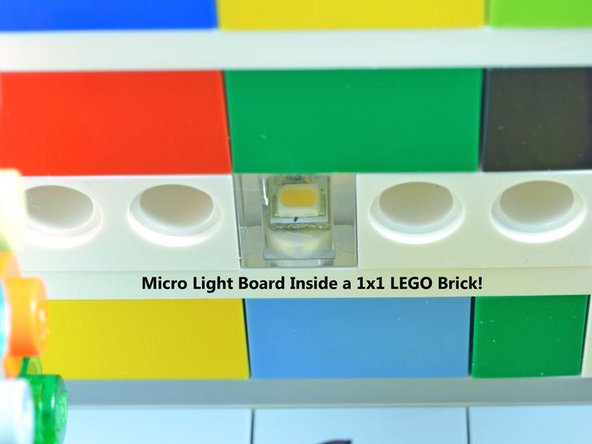
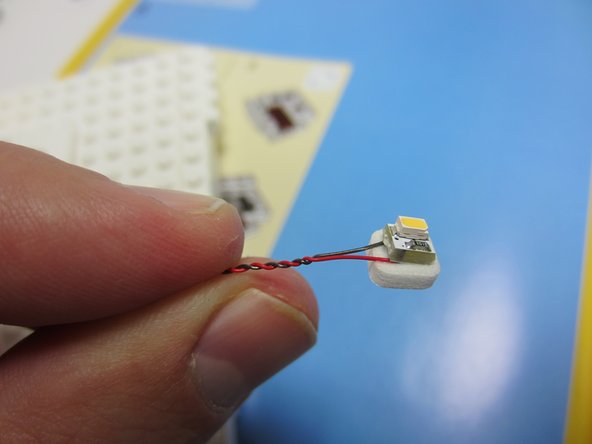
Brickstuff Micro Light Boards have been specially designed to fit inside a standard 1x1 LEGO® brick. Even if you are not mounting inside a LEGO® creation, you will appreciate the small 4x4mm size of the Light Boards-- they allow you to put light just about anywhere you need it.
-
Depending on where you need to mount the Micro Light Board, it may be possible to install the board without needing to use adhesive.
-
If adhesive is required to hold the board in place, you can use one of the self-adhesive squares that are supplied with each Micro Light Board kit.
-
If you need to install the Light Board into a round space that is smaller than the board itself (for example, inside a round 1x1 LEGO® brick), you can delicately sand the corners of the board. [invalid guide link] to view a usage guide that describes the sanding process in detail.
-
-
-
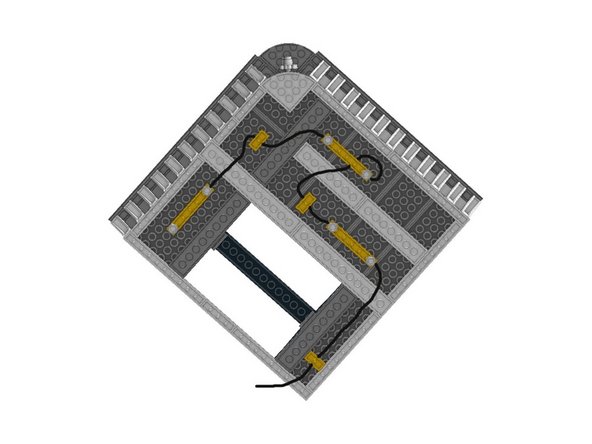
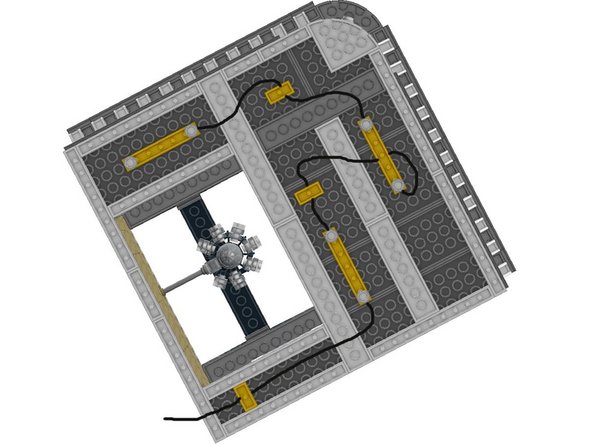
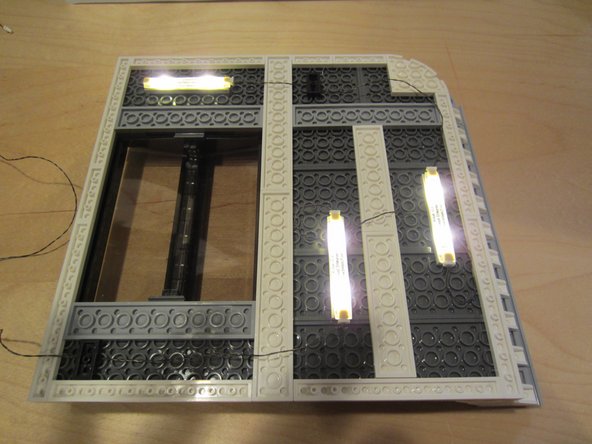
Regardless of the wiring arrangement you use, you should plan on using three Brickstuff Light Strips (or the equivalent of six LEDs) per floor of a LEGO® Modular Building.
-
If you are not mounting your lights inside a LEGO® creation, or if your creation is not a building, you will need to experiment a bit to find the lighting mix that works best for you.
-
When mounting your lights, begin from the top floor of a building (or the least accessible part of your creation) and begin installation there.
-
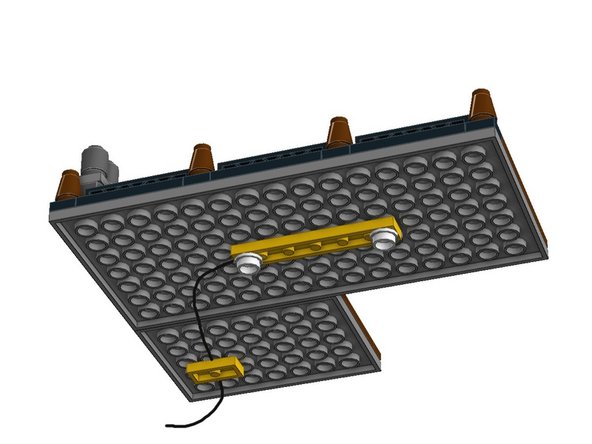
On each floor of a building (or in each section of a creation), it is best to daisy-chain lights.
-
If mounting in a LEGO® creation, you can use 1x1 LEGO® plates to hold the connecting cables in place.
-
Note that yellow bricks have been used in the illustrations to the left-- this was just for emphasis. We recommend white plates for the Light Strips and black plates to hold wires in place.
-
-
-
When installing Light Strips in a LEGO® creation, you can use the 1x6 plate the strip is mounted on to hide slack in the wires. Loop the connecting cable underneath the plate holding the Light Strip as shown in the illustrations.
-
-
-
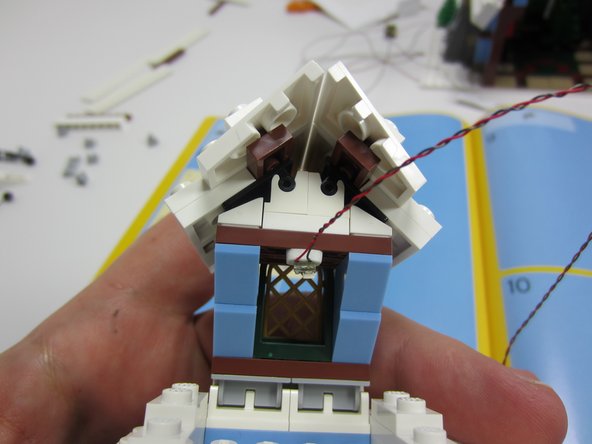
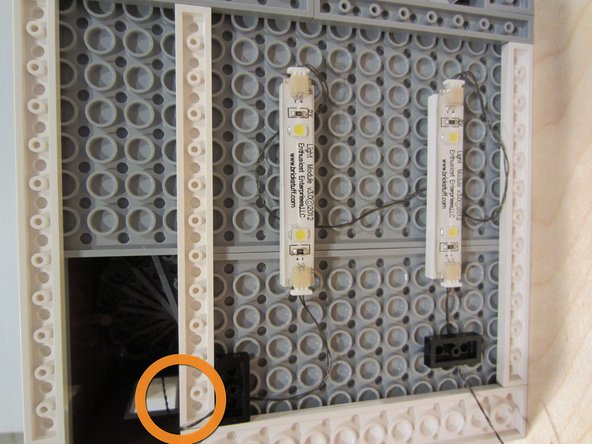
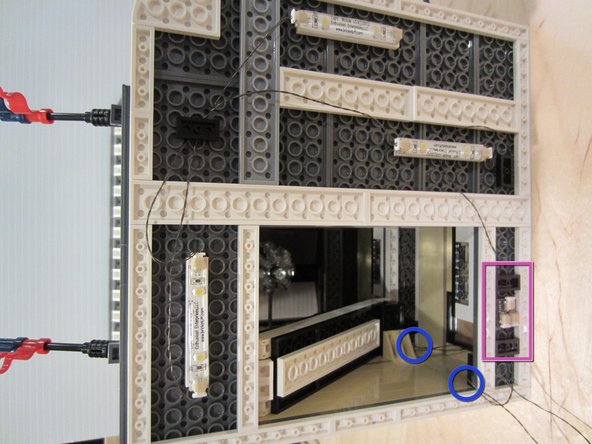
Use the holes and pathways you identified earlier to run wires between floors or between areas of your creation.
-
The first photo in this step shows a feeder wire from an upper floor passing through a balcony opening.
-
The second photo shows a feeder wire passing behind a spiral staircase from a higher floor.
-
The third photo shows multiple feeder wires passing through an opening behind an escalator. If you use the Home Run wiring arrangement, you will need to run multiple feeder wires to the ground level or exit point of your creation, so keep an eye out for pathways capable of holding several wires.
-
Also in the third photo, an adapter board was needed and was able to fit directly into a ceiling cavity. The adapter board is held in place with two 1x2 LEGO® plates.
-
-
-
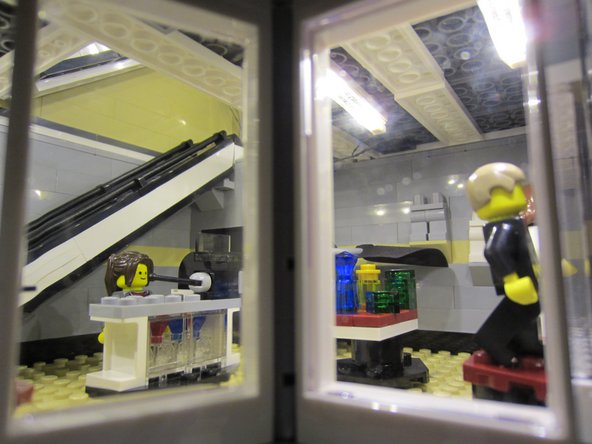
before finalizing your installation it is a good idea to test all of your lights to make sure they operate, and also to make sure they are positioned correctly to deliver the effect you desire.
-
It is also important to make sure that you have enough slack in your wiring installation, so plugs and connections won't be tugged or pulled when you lift roofs, open doors, etc.
-
-
-
While you are checking for sufficient slack, also don't forget to make sure you have slack in your feeder wires, to allow them to pass through floors and sections without pulling.
-
-
-
Once everything looks good, connect your power supply.
-
The Brickstuff lighting system is designed to support up to 100 lights or more on a single string, so you can easily power a block of buildings or a very large creation with a single power source.
-
Many of our lighting kits include a battery pack, but there are many other options for powering your installation. We also offer "wall wart" power supplies and the ability to run from portable USB batteries, so you have a full range of options to keep your installation shining bright! See our website for full product details.
-
With a little advanced planning and some experimenting, you may find ways to conceal your power supply inside your creation, further enhancing the effect!
-
-
-
Most importantly, have fun with what you have built! We hope our lights will help you bring all of your creations to life. Please give us feedback on this guide, or visit our website to send us your thoughts and requests. Thank you for being a Brickstuff customer!
-
Cancel: I did not complete this guide.
57 other people completed this guide.
13 Comments
it's a good idea to test-mount the lights and connecting cables, to make sure everything fits with a little slack left over (Burj Jumeira Tower).
Sheikh Nadia - Resolved on Release Reply
I have seen your products. I would like to ask about creating a custom made LED system. Basically the system would have the following features:
Approximately 250 LED lights, of different intensities, colours, and patterns of lighting: some continuous, other intermittent. All 250 Led lights will be fully controllable and independent to switch on and off. Also, there should be an option to lighten up randomly parts of the lights, (at 10 % intervals: 0, 10 % , 20 %, 30 %, etc… ) and also at specific time intervals (change all every ten minutes, twenty minutes, etc up to an hour). Finally, an option to change the setting of proportion of lights on from manual to random : so that say, every ten minutes, a different part of lights is on and the overall proportion of lights on or off changes too. Basically, a fully programmable set.
I would appreciate if you could suggest also a specific way of controlling: remote control, or some kind of app or other wifi based system.
I can't wait to get my buildings lit up. I just recently bought the Disney castle and reset my town into the beginnings of Main Street at my very own little Disney World (it works for me!). I'm a total beginner in lighting, so any suggestions on how to start will be great. I have the palace cinema, the shopping emporium, the pet shop/townhouse, the Parisian cafe, the bank, the detective office/pool hall, the old Haunted House that opens on a hinge, and the Ghostbuster's Firehouse. I think for the insides I'll do what this blog post shows, as that seems easiest, but eventually, I'm going to want light posts going down Main Street....and...and...and SO MANY IDEAS!
Hello dear friends, where can I buy the accessories to do the lighting. If you can say thank you.
Greetings.
anonymous 8606 - Resolved on Release Reply


